
This guide shows renters how to hide deck TV cables safely and neatly using non-permanent, damage-free methods. You’ll discover smart tools and techniques to keep your outdoor entertainment area tidy and landlord-approved.
Key Takeaways
- Use adhesive cable raceways: These stick-on channels blend with deck rails or walls and hold multiple cables securely without drilling.
- Opt for wireless where possible: Reduce cable clutter by using wireless HDMI transmitters or streaming devices like Roku or Apple TV.
- Route cables along natural deck features: Hide wires behind railings, under deck boards, or along support beams for a seamless look.
- Choose weather-resistant materials: Always use outdoor-rated cable covers and clips to protect against rain, sun, and temperature changes.
- Avoid permanent modifications: As a renter, never drill into walls or railings—stick to removable, reversible solutions.
- Label and organize cables: Use colored tags or labels so you can easily identify and manage connections during setup or troubleshooting.
- Test before finalizing: Ensure all devices work properly after cable routing to avoid rework or signal loss.
How to Hide Cables for Deck TV in Rental Homes
Setting up a TV on your deck can transform your outdoor space into a cozy entertainment zone—perfect for movie nights, sports games, or relaxing with a show under the stars. But one big challenge? What to do with all those messy cables? As a renter, you can’t just drill holes in the wall or railings, and you definitely don’t want to leave wires dangling where they can trip someone or get damaged by the weather.
The good news? You can enjoy a clean, professional-looking deck TV setup—even in a rental—without breaking your lease or damaging property. This guide will walk you through renter-friendly, non-permanent solutions to hide your TV cables safely and stylishly. Whether you’re using a wall-mounted TV, a freestanding outdoor screen, or a weatherproof display, these tips will help you keep your deck looking tidy and your setup secure.
By the end of this guide, you’ll know exactly how to route, conceal, and protect your cables using tools and techniques that are easy to install, fully removable, and designed with renters in mind. Let’s get started!
Why Hiding Cables Matters for Deck TVs
Before diving into the how-to, let’s talk about why hiding cables is so important—especially for outdoor setups in rental homes.
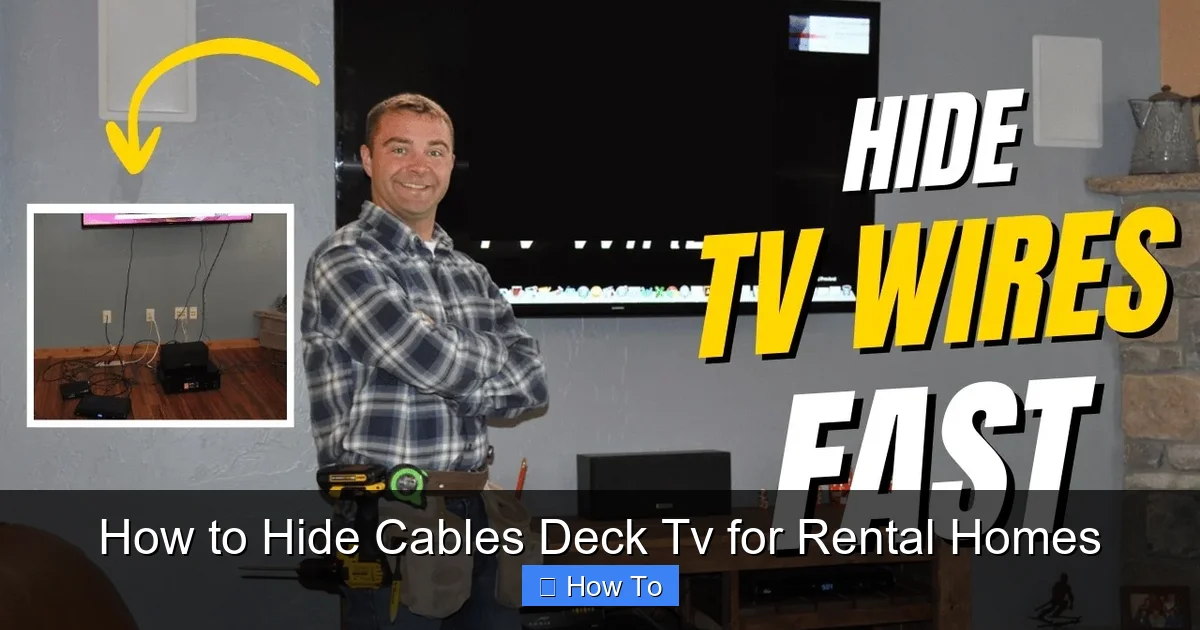
Visual guide about How to Hide Cables Deck Tv for Rental Homes
Image source: i.ytimg.com
First, safety. Exposed cables on a deck can become tripping hazards, especially in low light or when guests are moving around. Wet conditions increase the risk of electrical issues, so keeping cables off the ground and protected is a must.
Second, weather protection. Rain, snow, UV rays, and temperature swings can degrade standard indoor cables over time. Outdoor-rated cables and proper covering help prevent shorts, corrosion, and signal loss.
Third, aesthetics. A clean, wire-free deck looks more inviting and modern. It enhances the overall ambiance and makes your outdoor space feel like a true extension of your home.
And finally, lease compliance. Most rental agreements prohibit permanent modifications like drilling, painting, or attaching fixtures with screws. Using removable cable management solutions ensures you won’t lose your security deposit or face penalties when moving out.
With these goals in mind, let’s explore the best ways to hide your deck TV cables—without leaving a trace.
Step 1: Plan Your Cable Route
Before buying any products or sticking anything to your deck, take time to map out your cable path. This planning step saves time, reduces frustration, and helps you choose the right tools.
Identify Power and Signal Sources
Start by locating where your TV will sit and where your power outlet is. Most deck setups require at least two main cables: power for the TV and an HDMI cable connecting to a streaming device, cable box, or game console. If you’re using a soundbar or external speakers, add those to the list.
Ask yourself:
- Where is the nearest outdoor GFCI outlet?
- Will the TV be wall-mounted or on a stand?
- Will devices like a Roku or Fire Stick be hidden behind the TV or placed nearby?
- Do you need an extension cord or outdoor power strip?
Choose the Shortest, Safest Path
Look for the most direct route from your TV to the power source and signal devices. Ideally, this path should:
- Avoid high-traffic areas
- Stay off the ground (to prevent water damage and tripping)
- Use existing structures like railings, posts, or under-deck spaces
- Minimize exposure to direct sunlight and rain
For example, if your TV is mounted on a wall near a corner, you might route cables down the side of the wall, along the baseboard, and under the deck to a hidden power source. Or, if your deck has a railing, you can run cables behind it and down a support post.
Sketch a Simple Diagram
Grab a piece of paper or use a notes app to sketch your deck layout. Mark the TV location, power outlet, and all devices. Draw arrows showing where each cable will go. This visual guide helps you stay organized and makes it easier to explain your plan if you’re working with a partner.
Pro Tip: Measure the distance between your TV and power source. Add 10–15% extra length to your cables to allow for slack and future adjustments.
Step 2: Choose Renter-Friendly Cable Management Tools
Now that you’ve planned your route, it’s time to pick the right products. The key is to use non-permanent, removable solutions that won’t damage surfaces or violate your lease.
Adhesive Cable Raceways
These are one of the best options for renters. Cable raceways are plastic or rubber channels that stick to walls, railings, or deck posts using strong adhesive backing. They come in various sizes and colors (white, black, gray, wood-tone) to blend with your deck’s style.
How to use them:
- Clean the surface with rubbing alcohol to ensure strong adhesion.
- Peel off the backing and press the raceway firmly along your planned route.
- Open the channel, insert your cables, and snap the cover shut.
- Use corner pieces or flexible raceways for turns.
Look for outdoor-rated raceways with UV protection and waterproof seals. Brands like D-Line and Legrand offer great options designed for exterior use.
Adhesive Cable Clips and Ties
For shorter runs or single cables, adhesive clips are a simple fix. These small plastic or rubber clips stick to surfaces and hold cables in place. They’re great for routing HDMI or power cords along deck railings or under tables.
Choose clips with 3M VHB tape for strong hold without residue. Avoid cheap adhesives that may fall off in heat or rain.
Flexible Conduit or Split Loom Tubing
If you’re running cables under the deck or along the ground, consider using flexible conduit. This corrugated plastic tubing protects wires from moisture, pests, and physical damage. It’s especially useful for longer runs or areas exposed to foot traffic.
To install:
- Cut the conduit to length using scissors or a utility knife.
- Open the split side and insert your cables.
- Use zip ties or adhesive mounts to secure the conduit to deck beams or joists.
Make sure the conduit is rated for outdoor use and UV-resistant.
Wireless Alternatives
Reduce cable clutter by going wireless where possible. For example:
- Use a wireless HDMI transmitter to send video and audio from your streaming device to the TV without running a long HDMI cable.
- Choose a smart TV with built-in Wi-Fi so you don’t need a separate streaming box.
- Use Bluetooth speakers instead of wired ones.
Wireless options cut down on the number of cables you need to hide, making your setup simpler and cleaner.
Step 3: Install the Cable Management System
With your tools ready, it’s time to install. Follow these steps for a smooth, damage-free setup.
Prepare the Surface
Clean any area where you’ll apply adhesive products. Use a cloth and rubbing alcohol to remove dirt, grease, or moisture. Let it dry completely. This ensures strong adhesion and prevents peeling.
Start at the TV and Work Backward
Begin routing cables from the TV toward the power source. This helps you manage slack and avoid tangles. If you’re using a raceway, install it first, then insert the cables.
Secure Cables as You Go
Use clips, ties, or raceway covers to hold cables in place every 12–18 inches. Don’t pull cables too tight—leave a little slack to prevent strain on connectors.
Hide Devices Behind the TV or in a Weatherproof Box
If you’re using a streaming device, cable box, or power strip, consider hiding it behind the TV or in a small outdoor storage box. Use a weatherproof media cabinet or a ventilated plastic bin with holes for airflow. Secure it to a deck post or under a table with zip ties or straps.
Pro Tip: Use a surge protector with outdoor rating (look for “UL Listed for Outdoor Use”) to protect your devices from power surges.
Test Everything Before Finalizing
Once all cables are routed and devices are connected, turn on the TV and test all functions. Check for:
- Clear video and audio
- Stable Wi-Fi or wireless signal
- No overheating of devices
- No tripping hazards
If something isn’t working, troubleshoot before securing everything permanently. It’s easier to adjust now than after everything is glued down.
Step 4: Weatherproof and Protect Your Setup
Outdoor environments are tough on electronics. Take extra steps to protect your cables and devices from the elements.
Use Outdoor-Rated Cables
Standard indoor cables aren’t built for moisture, UV exposure, or temperature swings. Always use outdoor-rated HDMI, power, and extension cords. These have thicker insulation, UV-resistant jackets, and better moisture protection.
Seal Connections with Electrical Tape or Heat Shrink
Where cables connect to devices or outlets, wrap the joints with electrical tape or use heat shrink tubing to prevent water ingress. Avoid leaving connectors exposed.
Elevate Cables Off the Ground
Never let cables sit directly on wet decking. Use clips, raceways, or conduit to keep them elevated. If cables must cross a walkway, use a cable protector ramp to cover them and prevent tripping.
Install a GFCI Outlet or Use a GFCI Extension Cord
Ground Fault Circuit Interrupter (GFCI) outlets shut off power if they detect a fault, reducing the risk of shock. If your deck outlet isn’t GFCI-protected, use a GFCI extension cord for added safety.
Consider a Deck Box or Cabinet
For a polished look, store your streaming device, power strip, and extra cables in a weatherproof deck box. Choose one with ventilation and a lockable lid for security. Paint it to match your deck if allowed.
Step 5: Maintain and Update Your Setup
Even the best cable management needs occasional checkups. Regular maintenance keeps your setup safe and functional.
Inspect Monthly
Check for:
- Loose or peeling adhesive
- Cracked raceways or conduit
- Frayed cables
- Water damage or corrosion
Reapply adhesive or replace damaged parts as needed.
Clean Cables and Devices
Wipe down cables and devices with a dry cloth to remove dust and debris. Avoid spraying water directly on electronics.
Update as Needed
If you upgrade your TV or add new devices, reassess your cable management. You may need longer cables, additional raceways, or a new wireless solution.
Troubleshooting Common Issues
Even with careful planning, problems can arise. Here’s how to fix the most common ones.
Cables Keep Falling Off
If adhesive clips or raceways won’t stick, the surface may be too rough, dirty, or humid. Try cleaning again with alcohol, or switch to a stronger adhesive like 3M VHB tape. For extra hold, use zip ties through the raceway’s mounting holes (if it has them).
Signal Loss or Poor Picture Quality
Long HDMI runs can cause signal degradation. Use an HDMI extender or active optical HDMI cable for distances over 25 feet. Avoid sharp bends in the cable, which can damage internal wires.
Wireless Devices Keep Disconnecting
Wi-Fi interference from other devices or thick walls can disrupt signals. Move your router closer, use a Wi-Fi extender, or switch to a 5GHz band for less congestion. For wireless HDMI, ensure the transmitter and receiver have a clear line of sight.
Cables Get Wet or Corroded
If moisture gets in, disconnect power immediately and let everything dry completely. Replace damaged cables and improve sealing with better tape or conduit. Consider relocating cables to a drier route.
Landlord Complains About Modifications
If your landlord objects, remind them that your setup uses only removable, non-damaging products. Offer to remove everything before moving out. Keep receipts and photos as proof of reversible installation.
Conclusion
Hiding cables for your deck TV in a rental home doesn’t have to be a headache. With the right tools and techniques, you can create a clean, safe, and stylish outdoor entertainment space—without risking your security deposit or violating your lease.
Start by planning your cable route, then choose renter-friendly products like adhesive raceways, outdoor clips, and wireless devices. Install carefully, weatherproof your setup, and maintain it regularly. And remember: always prioritize safety, simplicity, and reversibility.
Your deck should be a place to relax and enjoy—not a tangled mess of wires. By following this guide, you’ll keep your TV setup looking sharp, your cables protected, and your landlord happy. Now grab your favorite show, kick back, and enjoy your wire-free outdoor oasis!

