
Keeping your patio TV clean ensures vibrant picture quality and longer lifespan during outdoor movie nights and deck parties. This guide walks you through safe cleaning methods, tools, and maintenance tips tailored for outdoor environments.
Key Takeaways
- Use the right tools: Microfiber cloths, distilled water, and mild cleaners prevent screen damage and streaks.
- Power off and unplug: Always turn off and disconnect your patio TV before cleaning to avoid electrical hazards.
- Avoid harsh chemicals: Ammonia, alcohol, and abrasive cleaners can ruin anti-glare coatings and screen surfaces.
- Clean regularly: Dust, pollen, and moisture build up quickly outdoors—clean your TV every 2–4 weeks.
- Protect from the elements: Use a weatherproof cover when not in use to reduce cleaning frequency and extend TV life.
- Check the manual: Follow manufacturer guidelines for model-specific cleaning recommendations.
- Inspect for damage: Look for cracks, loose seals, or moisture inside the casing during cleaning.
How to Clean Patio TV for Deck Entertainment
Imagine this: It’s a warm summer evening, you’ve set up string lights, invited friends over, and queued up your favorite movie—only to realize your patio TV is smudged, dusty, and barely visible in the fading light. Don’t let a dirty screen ruin your deck entertainment! Whether you’re hosting a backyard barbecue, watching the big game under the stars, or enjoying a family movie night outdoors, a clean TV is essential for a great viewing experience.
In this comprehensive guide, you’ll learn exactly how to clean your patio TV safely and effectively. We’ll cover everything from the right tools and cleaning solutions to step-by-step instructions, maintenance tips, and troubleshooting common issues. By the end, you’ll know how to keep your outdoor TV sparkling clean, protected from the elements, and ready for any deck party.
Why Cleaning Your Patio TV Matters
Outdoor TVs face unique challenges that indoor models don’t. Exposure to sun, rain, dust, pollen, bird droppings, and even salt air (if you live near the coast) can quickly degrade picture quality and damage internal components. A dirty screen not only looks bad—it can also strain your eyes and reduce brightness, making it harder to enjoy your favorite shows.
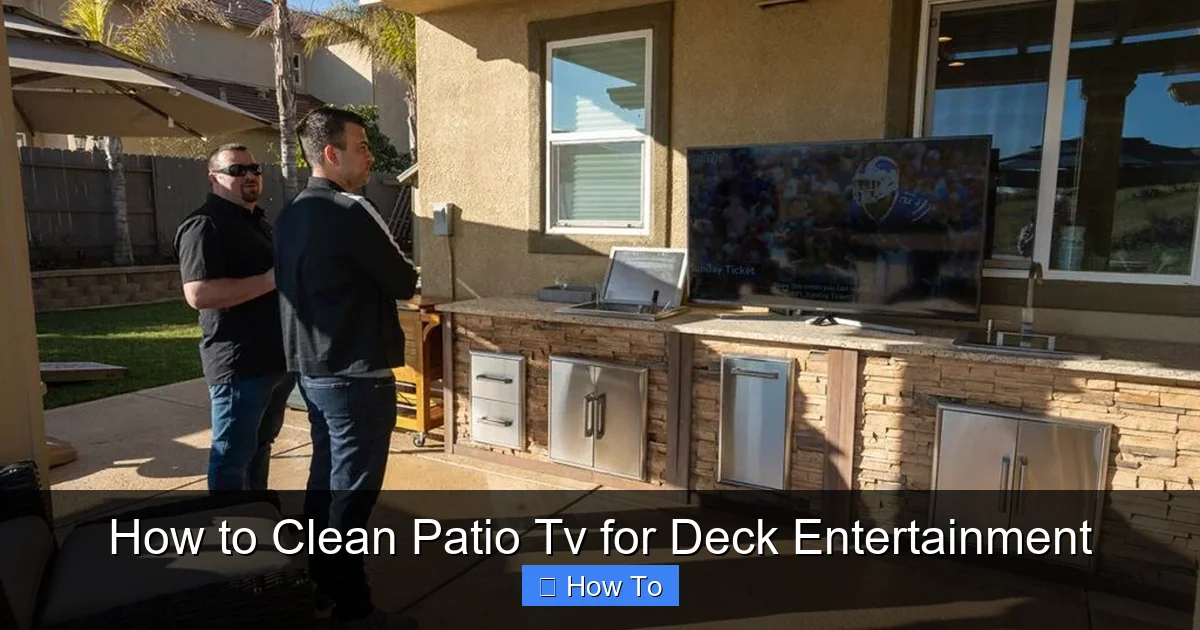
Visual guide about How to Clean Patio Tv for Deck Entertainment
Image source: rtaoutdoorliving.com
Regular cleaning helps:
- Maintain optimal picture clarity and color accuracy
- Prevent buildup that can scratch or cloud the screen
- Extend the lifespan of your TV
- Reduce the risk of moisture seeping into vents or seals
- Keep your deck entertainment area looking neat and inviting
Think of cleaning your patio TV like washing your car—it’s not just about looks. It’s about protection, performance, and pride in your outdoor space.
What You’ll Need to Clean Your Patio TV
Before you start, gather the right tools. Using improper cleaners or rough materials can scratch the screen or damage anti-reflective coatings. Here’s a simple checklist:
- Microfiber cloths (at least two—one for cleaning, one for drying)
- Distilled water (tap water can leave mineral spots)
- Mild cleaning solution (like a 50/50 mix of distilled water and white vinegar, or a screen-safe cleaner)
- Soft-bristle brush (for dusting vents and frames)
- Compressed air (optional, for blowing dust out of crevices)
- Weatherproof cover (to protect the TV when not in use)
- Gloves (optional, to keep oils off the screen)
What to avoid: Paper towels, tissues, ammonia-based cleaners (like Windex), alcohol-based sprays, abrasive sponges, or anything with harsh chemicals. These can strip protective coatings, cause clouding, or leave permanent streaks.
Step-by-Step Guide to Cleaning Your Patio TV
Step 1: Power Off and Unplug the TV
Safety first! Always turn off your patio TV and unplug it from the power source before cleaning. This prevents electrical shock and protects the internal components from moisture. If your TV is hardwired, switch off the circuit breaker that controls it.
Let the TV cool down if it’s been running—hot screens are more prone to damage from cleaning solutions.
Step 2: Dust the Screen and Frame
Start by removing loose dust and debris. Use a dry microfiber cloth or a soft-bristle brush to gently wipe the screen, bezel, and vents. Work from top to bottom in smooth, overlapping strokes.
For hard-to-reach areas like the back or sides, use compressed air to blow out dust from vents and speaker grilles. Hold the can upright and spray in short bursts to avoid moisture buildup.
Pro tip: Do this step regularly—even weekly—to prevent grime from building up.
Step 3: Prepare Your Cleaning Solution
Mix a gentle cleaning solution. The safest option is:
- 50% distilled water
- 50% white vinegar
Alternatively, use a commercial screen cleaner labeled “safe for LED/LCD/anti-glare screens.” Never spray liquid directly onto the TV—always apply it to the cloth first.
Why distilled water? Tap water contains minerals that can leave spots or streaks, especially in sunny outdoor conditions.
Step 4: Clean the Screen
Dampen a clean microfiber cloth with your solution—just slightly moist, not dripping. Gently wipe the screen in circular motions, starting from the center and moving outward. Avoid pressing too hard.
For stubborn spots like fingerprints or bird droppings, hold the damp cloth over the area for 10–15 seconds to loosen the residue, then wipe gently.
Use a second dry microfiber cloth to buff the screen until it’s streak-free and shiny.
Important: Never spray cleaner directly on the screen. Excess liquid can seep into the edges and damage internal electronics.
Step 5: Clean the Frame and Vents
Use the same damp cloth to wipe down the TV’s frame, stand, and mounting bracket. Pay special attention to areas where dirt and moisture collect, like the bottom edge or behind the screen.
For vents and speaker grilles, use a soft brush or compressed air to remove dust. Avoid pushing debris further into the TV.
If your TV has a protective glass or plastic cover (common on outdoor models), clean it the same way as the screen.
Step 6: Dry and Inspect
Use the dry microfiber cloth to wipe down all surfaces one final time. Check for streaks, spots, or missed areas under good lighting.
Inspect the TV for signs of damage: cracks in the screen, loose seals, moisture inside the casing, or corrosion on connectors. If you notice anything unusual, consult the manufacturer or a professional.
Step 7: Reconnect and Test
Once the TV is completely dry, plug it back in and turn it on. Check that the picture is clear, colors are accurate, and all functions work properly.
If the screen looks hazy or discolored after cleaning, it may have sustained damage from past cleanings or environmental exposure. In that case, consider professional servicing.
Maintaining Your Patio TV Between Cleanings
Cleaning doesn’t have to be a chore. With a few smart habits, you can keep your patio TV in top shape with minimal effort.
Use a Weatherproof Cover
When your TV isn’t in use, cover it with a fitted, breathable outdoor TV cover. This protects against rain, UV rays, dust, and bird droppings. Look for covers with UV protection and ventilation to prevent condensation.
Tip: Choose a cover that’s easy to put on and take off—so you’re more likely to use it.
Position Your TV Strategically
Mount your TV under an awning, pergola, or covered patio area to reduce direct exposure to sun and rain. Avoid placing it where sprinklers or garden hoses might spray it.
If possible, angle the screen to minimize glare from the sun or outdoor lights.
Clean Weekly for Light Maintenance
Once a week, give your TV a quick dusting with a dry microfiber cloth. This prevents buildup and makes deep cleaning easier.
After rain or high humidity, wipe down the screen and frame to remove water spots.
Check Seals and Mounting Hardware
Outdoor TVs are built with weather-resistant seals, but these can degrade over time. Every few months, inspect the edges of the screen and the mounting bracket for cracks or gaps.
Tighten any loose screws or bolts to ensure the TV stays secure in windy conditions.
Monitor for Pests
Birds, insects, and even small rodents can be attracted to outdoor electronics. Check behind and around the TV for nests, droppings, or chew marks. Use deterrents like mesh screens or ultrasonic repellents if needed.
Troubleshooting Common Cleaning Issues
Even with the best care, problems can arise. Here’s how to handle common issues:
Streaks or Haze on the Screen
Cause: Using too much cleaner, tap water, or the wrong cloth.
Solution: Re-clean with a fresh microfiber cloth and distilled water. Buff thoroughly with a dry cloth. If haze persists, the anti-glare coating may be damaged—avoid further cleaning and consult the manufacturer.
Water Spots or Mineral Deposits
Cause: Cleaning with tap water or not drying properly.
Solution: Use distilled water only. After cleaning, wipe the screen immediately with a dry cloth. For existing spots, gently rub with a cloth dampened with vinegar solution, then dry.
Cracked or Cloudy Screen
Cause: Physical damage, extreme temperature changes, or harsh cleaners.
Solution: Stop cleaning and assess the damage. Small cracks may not affect function, but clouding or spiderweb patterns indicate internal damage. Contact the manufacturer or a repair service.
Moisture Inside the TV
Cause: Failed seals, condensation, or direct water exposure.
Solution: Power off immediately and let the TV dry completely in a warm, dry place for 24–48 hours. If moisture remains or the TV won’t turn on, seek professional help. Do not attempt to open the TV yourself.
Remote Control Not Working
Cause: Dust, moisture, or dead batteries.
Solution: Clean the remote with a damp cloth, replace batteries, and ensure there’s no obstruction between the remote and the TV’s sensor.
When to Call a Professional
While most cleaning and maintenance can be done at home, some situations require expert help:
- The TV won’t turn on after cleaning
- You see moisture or fogging inside the screen
- The picture is distorted, flickering, or has dead pixels
- You suspect electrical or seal damage
- The TV is still under warranty (DIY repairs may void it)
Contact the manufacturer or a certified technician for diagnosis and repair. Don’t risk further damage by attempting complex fixes yourself.
Choosing the Right Outdoor TV for Easy Cleaning
If you’re in the market for a new patio TV, look for models designed for outdoor use. These typically feature:
- Weatherproof construction (IP54 or higher rating)
- Tempered glass or anti-reflective screens
- Sealed ports and vents
- Easy-to-clean surfaces
- Built-in heaters or cooling systems for extreme climates
Brands like Samsung, SunBrite, and Seura specialize in outdoor TVs with durable, low-maintenance designs. While they cost more upfront, they save time and money on cleaning and repairs in the long run.
Final Thoughts: Enjoy Your Deck Entertainment
A clean patio TV isn’t just about aesthetics—it’s about creating the perfect outdoor entertainment experience. Whether you’re watching a sunset movie, cheering on your team, or hosting a party, a clear, bright screen makes all the difference.
By following this guide, you’ll keep your TV looking great, performing well, and lasting for years. Remember: gentle cleaning, regular maintenance, and smart protection are the keys to success.
So grab your microfiber cloth, power down the TV, and give your deck entertainment setup the care it deserves. Your future self—and your guests—will thank you.

