
This guide walks you through how to install an outside TV for a large patio, from choosing the right model to mounting, wiring, and protecting it from the elements. You’ll learn how to create a safe, durable, and enjoyable outdoor entertainment setup that lasts.
Key Takeaways
- Choose a weatherproof outdoor TV: Regular indoor TVs can’t handle rain, humidity, or temperature swings. Look for models rated for outdoor use with IP55 or higher protection.
- Pick the right mounting location: Select a shaded, sheltered spot on a sturdy wall or ceiling to avoid direct sun, rain, and glare. Ensure it’s visible from all seating areas.
- Use a full-motion outdoor mount: A heavy-duty, weather-resistant mount allows you to adjust the viewing angle and retract the TV when not in use.
- Run cables safely and neatly: Use outdoor-rated cables and conduit to protect wiring from moisture, UV rays, and pests. Conceal wires for a clean look.
- Power and signal setup matter: Install a dedicated outdoor GFCI outlet and consider wireless streaming devices to reduce cable clutter.
- Test and maintain regularly: After installation, test all functions and inspect the TV and mount seasonally to ensure longevity.
- Enhance with outdoor accessories: Add weatherproof speakers, lighting, and furniture to complete your outdoor entertainment zone.
How to Install Outside TV for Large Patio
Imagine relaxing on your spacious patio, sipping your favorite drink, and watching the big game or a movie under the stars. With the right setup, your outdoor space can become a true entertainment hub. Installing an outside TV for a large patio isn’t just about hanging a screen—it’s about creating a durable, safe, and enjoyable experience that stands up to the elements.
In this comprehensive guide, you’ll learn how to install an outside TV for a large patio step by step. We’ll cover everything from choosing the right TV and mount to running cables, protecting against weather, and optimizing your viewing experience. Whether you’re a DIY enthusiast or working with a professional, this guide will help you build a setup that’s both functional and stylish.
Step 1: Choose the Right Outdoor TV
Not all TVs are built for the outdoors. Indoor TVs may work temporarily, but they’re not designed to handle rain, humidity, dust, or extreme temperatures. For a large patio, you need a TV specifically made for outdoor use.
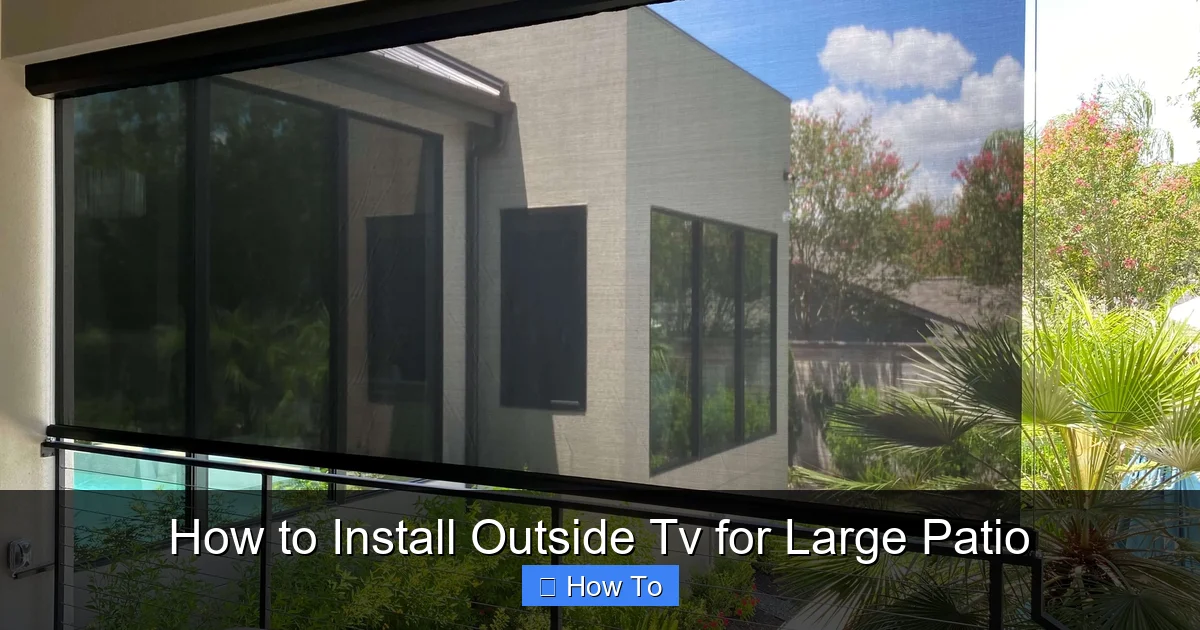
Visual guide about How to Install Outside Tv for Large Patio
Image source: theshadeshop.net
Look for Weatherproof Ratings
The most important feature is the IP (Ingress Protection) rating. This tells you how well the TV resists dust and water. For outdoor use, aim for at least IP55, which means it’s protected against dust and water jets from any direction. Some premium models go up to IP65 or IP66 for even better protection.
Consider Screen Brightness
Outdoor lighting can wash out your picture. Choose a TV with high brightness (nits)—at least 700 nits, but 1000+ is ideal for sunny patios. Look for models with anti-glare coatings or built-in sunshades to improve visibility.
Size and Resolution Matter
For a large patio, a 55-inch to 75-inch screen is usually best. It ensures everyone has a great view, even from the far end of the space. Go for 4K resolution for sharp, detailed images, especially on larger screens.
Built-In Features
Some outdoor TVs come with built-in heaters and coolers to regulate internal temperature. This is especially useful in areas with extreme heat or cold. Also, look for models with weatherproof speakers or audio outputs so you can connect external sound systems.
Example: The SunBriteTV Veranda Series is a popular choice for large patios. It’s fully weatherproof, has 1000+ nits brightness, and comes in sizes up to 75 inches.
Step 2: Select the Best Mounting Location
Where you place your TV is just as important as the TV itself. A poor location can lead to glare, water damage, or limited viewing angles.
Find a Sheltered Spot
Avoid placing the TV in direct sunlight or where rain can hit it. Look for a covered area like under a pergola, awning, or roof overhang. If your patio doesn’t have natural shelter, consider installing a retractable awning or outdoor canopy.
Check Viewing Angles
Walk around your patio and sit in different seating areas. The TV should be visible from all primary spots—no awkward neck craning or blocked views. Mount the screen at a height where the center is about 42 to 48 inches from the ground, similar to indoor setups.
Ensure Structural Support
The wall or ceiling you mount to must be strong enough to hold the TV and mount. Use a stud finder to locate solid wood or metal studs. Avoid drywall or thin materials. For concrete or brick walls, use appropriate anchors and consult a professional if needed.
Plan for Cable Access
Make sure the location is near a power source and allows easy access for running HDMI, power, and other cables. You’ll want to route wires neatly and safely to avoid tripping hazards or exposure to the elements.
Step 3: Choose the Right Outdoor TV Mount
A standard indoor mount won’t cut it. You need a mount designed for outdoor use that can handle weather, wind, and movement.
Types of Outdoor Mounts
- Fixed Mount: Holds the TV flat against the wall. Good for permanent setups but offers no adjustability.
- Tilt Mount: Allows you to angle the TV up or down. Useful if the screen is mounted high.
- Full-Motion (Articulating) Mount: Lets you pull the TV away from the wall, swivel it side to side, and tilt it. Ideal for large patios with multiple seating areas.
Weather Resistance
Choose a mount made from powder-coated aluminum or stainless steel to resist rust and corrosion. Look for models labeled “outdoor-rated” or “weatherproof.”
Weight and Size Compatibility
Check the mount’s weight and VESA (mounting hole pattern) compatibility with your TV. Most outdoor mounts support TVs up to 100 lbs and VESA patterns from 200×200 to 600×400.
Tip: A full-motion mount is highly recommended for large patios. It lets you adjust the screen for different events—like a movie night or a sports game—and tuck it away when not in use.
Step 4: Prepare for Installation
Before you start drilling, gather your tools and plan your setup carefully.
Tools and Materials Needed
- Outdoor TV
- Weatherproof TV mount
- Drill and drill bits (masonry bits for brick/concrete)
- Level
- Tape measure
- Stud finder
- Outdoor-rated extension cord or direct wiring kit
- Outdoor HDMI and power cables
- Conduit or cable raceway
- Screws and anchors (appropriate for your wall type)
- Safety goggles and gloves
Check Local Codes and Permits
Some areas require permits for outdoor electrical work or structural modifications. Check with your local building department, especially if you’re running new wiring or modifying a roof structure.
Turn Off Power
If you’re working near electrical outlets or wiring, turn off the power at the breaker box to avoid shocks.
Step 5: Mount the TV Bracket
Now it’s time to install the mount securely.
Mark the Mounting Points
Hold the mount against the wall where you want the TV. Use a level to ensure it’s straight. Mark the screw holes with a pencil.
Drill Pilot Holes
Drill pilot holes at the marked spots. For wood studs, use a bit slightly smaller than your screws. For concrete or brick, use a masonry bit and insert plastic anchors.
Secure the Mount
Align the mount with the holes and screw it in place. Use at least four screws for stability. Double-check that the mount is level and tightly secured.
Test the Mount
Gently tug on the mount to ensure it’s firmly attached. If it wobbles, reinforce it with additional screws or anchors.
Step 6: Run Cables Safely
Exposed wires are not only unsightly—they’re dangerous and can get damaged by weather or pests.
Use Outdoor-Rated Cables
Standard indoor cables aren’t built for outdoor conditions. Use outdoor-rated HDMI, power, and coaxial cables that are UV-resistant and waterproof.
Protect Cables with Conduit
Run cables through PVC or metal conduit to shield them from moisture, sun, and animals. Secure the conduit to the wall with clips or straps.
Route Cables Neatly
Plan the shortest, safest path from the TV to the power source and signal inputs. Avoid sharp bends or pinching cables. Use cable raceways or in-wall channels if you’re running wires inside a wall.
Connect to a GFCI Outlet
Outdoor electrical outlets should be GFCI (Ground Fault Circuit Interrupter) protected to prevent shocks. If your outlet isn’t GFCI, have an electrician install one.
Pro Tip: Consider using a wireless HDMI transmitter to reduce cable clutter. These devices send video and audio signals from your source (like a cable box or streaming device) to the TV without wires.
Step 7: Install the TV on the Mount
With the mount secure and cables in place, it’s time to attach the TV.
Attach Mounting Brackets to the TV
Most outdoor TVs come with VESA mounting holes on the back. Attach the mounting brackets (usually included with the mount) to the TV using the provided screws.
Lift and Secure the TV
With a helper, lift the TV and hook it onto the wall mount. Make sure it locks into place securely. Double-check that all connections are tight.
Connect Cables
Plug in the power cable, HDMI, and any other connections. Route them through the conduit or raceway to keep them hidden and protected.
Test the Setup
Turn on the TV and check the picture and sound. Adjust the angle if needed. Make sure all inputs work and the remote functions properly.
Step 8: Optimize Your Viewing Experience
Your TV is installed, but there’s more you can do to enhance your outdoor entertainment.
Add Outdoor Speakers
Built-in TV speakers often lack power and clarity outdoors. Install weatherproof outdoor speakers around the patio for rich, immersive sound. You can connect them via Bluetooth or wired audio outputs.
Control Glare and Lighting
Even with a bright TV, glare can be an issue. Use outdoor curtains, shades, or plants to block direct sunlight. Add soft ambient lighting like string lights or LED strips for evening viewing.
Use a Streaming Device
Connect a weatherproof streaming box (like a Roku or Apple TV) to access Netflix, Hulu, and more. Some outdoor TVs have built-in smart features, but an external device gives you more flexibility.
Create a Cozy Atmosphere
Pair your TV with comfortable outdoor furniture, a fire pit, and cozy blankets. The more inviting your space, the more you’ll enjoy it.
Troubleshooting Common Issues
Even with careful planning, problems can arise. Here’s how to fix the most common ones.
TV Won’t Turn On
- Check the power connection and GFCI outlet. Reset the GFCI if it tripped.
- Ensure the power cable is fully plugged in and not damaged.
- Test the outlet with another device to confirm it’s working.
Poor Picture Quality
- Adjust the TV’s brightness and contrast settings for outdoor viewing.
- Check for loose HDMI connections or signal interference.
- Make sure the source device (cable box, streaming stick) is functioning properly.
Remote Not Working
- Replace the remote batteries.
- Ensure there’s a clear line of sight between the remote and the TV’s sensor.
- Use a universal remote or smartphone app if the original remote fails.
Water or Moisture Inside the TV
- Turn off the TV immediately and unplug it.
- Contact the manufacturer—this may void the warranty if not handled properly.
- Ensure all seals and vents are intact and the TV is mounted in a sheltered location.
Mount Feels Loose
- Tighten all screws and bolts on the mount.
- Check for wall damage or loose anchors. Reinforce if necessary.
- Consider upgrading to a heavier-duty mount if the TV is large or in a windy area.
Maintenance Tips for Longevity
To keep your outdoor TV in top shape, regular maintenance is key.
Clean the Screen and Housing
Use a soft, dry cloth to wipe the screen weekly. For tougher grime, use a mild cleaner designed for electronics. Avoid harsh chemicals or abrasive materials.
Inspect Cables and Connections
Every few months, check cables for cracks, fraying, or corrosion. Replace damaged cables immediately.
Check the Mount and Hardware
Look for rust, loose screws, or movement. Tighten or replace parts as needed.
Cover During Extreme Weather
If a storm is coming, retract the TV (if using a full-motion mount) or cover it with a weatherproof TV cover. This adds an extra layer of protection.
Seasonal Checks
Before summer and winter, inspect the entire setup. Ensure seals are intact, the mount is secure, and the TV powers on correctly.
Conclusion
Installing an outside TV for a large patio is a rewarding project that transforms your outdoor space into a true entertainment destination. By choosing a weatherproof TV, selecting the right mount, running cables safely, and optimizing your setup, you can enjoy movies, sports, and shows under the open sky—rain or shine.
Remember, the key to success is planning and preparation. Take your time, follow safety guidelines, and don’t hesitate to consult a professional for electrical or structural work. With the right approach, your outdoor TV will provide years of enjoyment for family and friends.
Now that you know how to install an outside TV for a large patio, it’s time to gather your tools and get started. Your perfect outdoor movie night is just a few steps away.

