
Struggling with messy cables on your screened porch TV? This guide walks you through simple, effective ways to hide and organize cables for a clean, safe, and stylish outdoor setup. From planning your layout to choosing the right tools, you’ll create a clutter-free viewing experience.
Key Takeaways
- Plan your cable route before mounting the TV: Sketch the path from your TV to power and signal sources to avoid last-minute surprises.
- Use weather-resistant materials: Choose outdoor-rated cable covers, conduits, and clips to protect against moisture and UV damage.
- Conceal cables along structural elements: Run wires behind trim, under decking, or along support beams for a seamless look.
- Invest in cable management kits: Pre-packaged kits save time and ensure compatibility with your setup.
- Label all cables during installation: This makes future troubleshooting or upgrades much easier.
- Test everything before finalizing: Ensure signal strength and power delivery after hiding cables to avoid performance issues.
- Prioritize safety and code compliance: Keep cables away from foot traffic and use proper grounding to prevent hazards.
How to Hide Cables Patio TV for Screened Porch
So, you’ve finally mounted that sleek patio TV on your screened porch—perfect for watching the game, streaming movies under the stars, or catching up on your favorite shows while enjoying the fresh air. But now you’re staring at a tangled mess of cables snaking across the floor, down the wall, and into an outlet. Not exactly the relaxing vibe you were going for, right?
Don’t worry—you’re not alone. Cable clutter is one of the most common challenges when setting up outdoor entertainment spaces. The good news? With a little planning and the right tools, you can hide those cables neatly and safely, giving your screened porch a clean, professional look.
In this comprehensive guide, we’ll walk you through every step of hiding cables for your patio TV on a screened porch. Whether you’re a DIY beginner or a seasoned home improvement enthusiast, you’ll find practical tips, product recommendations, and troubleshooting advice to help you achieve a cable-free zone. We’ll cover everything from planning your layout and choosing the right materials to installing cable covers and ensuring long-term durability.
By the end of this guide, your screened porch will look as good as it feels—organized, stylish, and ready for year-round enjoyment.
Why Hiding Cables Matters on a Screened Porch
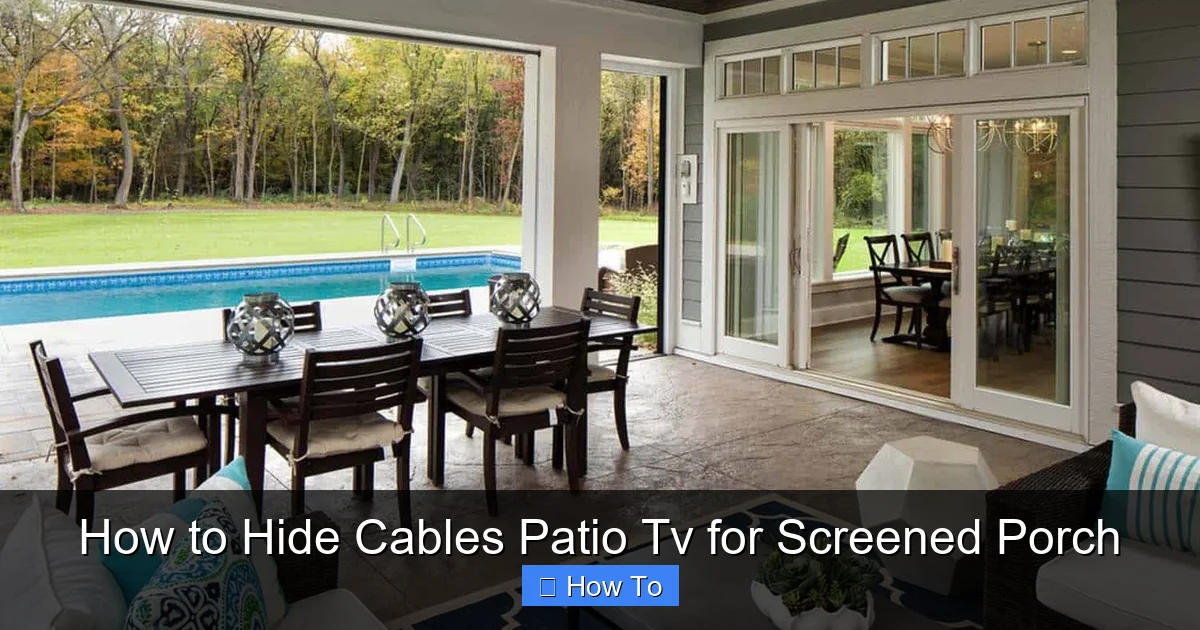
Visual guide about How to Hide Cables Patio Tv for Screened Porch
Image source: onekindesign.com
Before diving into the how-to, let’s talk about why cable management is so important—especially in an outdoor space like a screened porch.
First and foremost, safety. Exposed cables can become tripping hazards, especially in a space where people might be walking barefoot or carrying food and drinks. Loose wires can also get damaged by weather, pests, or accidental kicks, leading to electrical issues or even fire risks.
Second, aesthetics. A clean, cable-free setup enhances the overall look of your outdoor living area. Screened porches are meant to be relaxing retreats, not tech junkyards. Hiding cables gives your space a polished, intentional design.
Third, durability. Outdoor environments expose electronics to humidity, temperature swings, and UV rays. Properly concealed and protected cables last longer and perform better, reducing the need for repairs or replacements.
Finally, functionality. Organized cables make it easier to troubleshoot issues, upgrade components, or move your TV in the future. You’ll thank yourself later when you don’t have to untangle a knot of wires just to swap out a streaming device.
Step 1: Plan Your Cable Route
The first—and most important—step in hiding cables is planning. Rushing into installation without a clear path can lead to frustration, wasted materials, and a messy final result.
Start by identifying all the devices connected to your TV. This typically includes:
– Power cable for the TV
– HDMI cables (for streaming devices, gaming consoles, or cable boxes)
– Audio cables (if using external speakers)
– Ethernet cable (for a wired internet connection, if desired)
– Any additional power cords for accessories
Next, map out where each cable needs to go. Most screened porches have outlets near the floor or along the wall. Your TV is likely mounted higher up, so you’ll need a vertical route from the TV down to the outlet area.
Sketch a Simple Layout
Grab a piece of paper or use a free design app to sketch your porch layout. Mark the TV location, outlet positions, and any obstacles like furniture, railings, or support beams. Then, draw the shortest, most direct path for each cable.
Look for natural hiding spots:
– Behind existing trim or molding
– Along the edge of the ceiling or soffit
– Under decking or floorboards (if accessible)
– Inside hollow support posts
Avoid running cables across open floor space or high-traffic areas. If you must cross a walkway, consider using a cable ramp or under-carpet channel.
Measure Your Cables
Once you’ve planned the route, measure the distance from your TV to each power source and signal input. Add a few extra inches for slack—this gives you flexibility during installation and prevents tension on connectors.
Pro tip: Use a laser distance measurer or a long tape measure for accuracy. If your porch is large, enlist a helper to hold one end while you measure.
Check for Obstructions
Walk your planned route and look for potential obstacles:
– Electrical wires or plumbing behind walls
– Insulation that might block conduit
– Screened panels that are difficult to remove
– Moving parts like retractable screens or doors
If you’re unsure about what’s behind a wall, use a stud finder with a built-in wire detector. Never drill blindly into a wall—especially on a screened porch where moisture barriers and wiring may be close to the surface.
Step 2: Choose the Right Cable Management Tools
Now that you’ve planned your route, it’s time to gather the right tools and materials. The key is choosing products designed for outdoor use—regular indoor cable ties and raceways won’t hold up to the elements.
Outdoor-Rated Cable Conduits
A cable conduit is a protective tube that houses multiple cables. It’s one of the best options for hiding and protecting wires on a screened porch.
Look for conduits made from UV-resistant PVC or flexible polyethylene. These materials resist cracking, fading, and moisture damage. Popular brands include D-Line, Legrand, and Wiremold.
Choose a conduit size based on how many cables you’re running. A 1-inch diameter tube can typically hold 3–5 standard HDMI and power cables. If you’re running thicker cables or multiple bundles, go for a 1.5-inch or larger conduit.
Cable Raceway Systems
Cable raceways are flat, snap-on covers that attach to walls or trim. They’re great for running cables along visible surfaces without drilling into structural elements.
Opt for outdoor-rated raceways with adhesive backing or screw mounts. Some models come with paintable covers, so you can match them to your wall or trim color.
For a screened porch, consider low-profile raceways that sit flush against the wall. Avoid bulky designs that stick out and collect dust or debris.
Cable Clips and Ties
Use outdoor-rated cable clips to secure loose wires to beams, posts, or under decking. Choose clips with stainless steel screws or heavy-duty adhesive to withstand weather.
For bundling cables together, use reusable Velcro straps instead of zip ties. Velcro allows for easy adjustments and won’t cut into cables over time.
In-Wall Cable Management Kits
If you’re comfortable with light electrical work, an in-wall cable management kit lets you run cables completely inside the wall for a truly hidden look.
These kits typically include:
– A wall plate for the TV side
– A wall plate for the outlet side
– Flexible tubing to connect the two
– Mounting hardware and instructions
Make sure your screened porch walls are suitable for in-wall installation. Vinyl siding, stucco, or solid wood walls work best. Avoid installing in walls with insulation or moisture barriers unless you’re experienced.
Weatherproof Outlet Covers
Don’t forget the outlet! Use a weatherproof outlet cover with a flip-up lid to protect your power source from rain and humidity. Look for models with built-in cable passthroughs to keep wires organized as they exit the box.
Step 3: Install the Cable Route
With your plan and tools ready, it’s time to install the cable management system. Take your time—rushing can lead to mistakes that are hard to fix later.
Mount the TV First
Before running any cables, mount your TV on the wall. This gives you a fixed reference point and ensures your cable lengths are accurate.
Use a sturdy outdoor-rated TV mount designed for your TV’s size and weight. Make sure it’s securely anchored to wall studs or a solid backing—never mount directly into drywall or siding.
Once the TV is up, connect all your devices temporarily so you can test the setup before hiding the cables.
Run Cables Through Conduit or Raceway
If using a conduit, start by attaching it to the wall or trim along your planned route. Use screws or outdoor adhesive, depending on the product.
For vertical runs, install the conduit from the TV down to the outlet area. For horizontal runs, follow the edge of the ceiling or baseboard.
Gently feed your cables through the conduit. Use a fish tape or flexible rod to guide them if needed. Avoid bending cables too sharply—HDMI and Ethernet cables have minimum bend radius requirements.
If using a raceway, snap it open, lay the cables inside, and close the cover. Secure the raceway to the wall with screws or adhesive.
Secure Cables to Structural Elements
For cables running under decking or along beams, use cable clips every 12–18 inches to prevent sagging. Make sure clips are tight enough to hold the cables but not so tight that they crush the insulation.
If running cables inside a hollow support post, drill a small hole at the top and bottom, then feed the cables through. Use a grommet to protect the wires from sharp edges.
Connect to Power and Signal Sources
Once all cables are routed, connect them to your devices and power source. Use surge protectors or outdoor-rated power strips to safeguard your electronics.
Label each cable at both ends with colored tape or tags. This makes future troubleshooting much easier—especially if you have multiple HDMI or USB connections.
Step 4: Test and Finalize the Setup
Before you call it done, test your entire system to make sure everything works properly.
Check Signal Quality
Turn on your TV and test each input:
– Does the streaming device load quickly?
– Is the HDMI signal clear and stable?
– Do audio and video sync properly?
If you notice lag, flickering, or no signal, the issue might be a loose connection or a damaged cable. Re-seat connectors and check for kinks or pinches in the cable path.
Verify Power Delivery
Ensure all devices are receiving power. If a device won’t turn on, check the outlet, surge protector, and cable connections.
Avoid overloading your outdoor circuit. Most screened porches share a circuit with other outdoor lights or outlets. If you’re running multiple high-wattage devices, consider installing a dedicated circuit.
Secure Loose Ends
Tuck any excess cable length into the conduit, raceway, or behind the TV. Use Velcro straps to bundle loose coils and prevent them from dangling.
Make sure all covers are snapped shut and all screws are tightened. Double-check that no cables are exposed or at risk of snagging.
Step 5: Maintain and Upgrade Over Time
Cable management isn’t a one-and-done task. Over time, you may want to add new devices, upgrade cables, or rearrange your setup.
Inspect Regularly
Every few months, inspect your cable management system for signs of wear:
– Cracked or faded conduit
– Loose clips or raceways
– Corroded connectors
– Pest damage (mice love chewing on cables)
Clean dust and debris from raceways and covers to maintain a neat appearance.
Plan for Future Upgrades
Leave a little extra slack in your cables and consider installing a larger conduit than you currently need. This makes it easier to add new wires later without rerunning everything.
If you plan to install outdoor speakers or a soundbar, run speaker wire during the initial installation—even if you don’t use it right away.
Troubleshooting Common Issues
Even with careful planning, problems can arise. Here’s how to handle the most common cable management challenges on a screened porch.
Cables Are Too Short
If your cables don’t reach from the TV to the outlet, don’t use extension cords for HDMI or Ethernet—they can degrade signal quality.
Instead, use high-quality extension cables designed for your specific connection type. For HDMI, look for active or fiber optic extensions that boost the signal over long distances.
Conduit Won’t Stay Attached
If your conduit or raceway keeps falling off, the surface may be too smooth, dirty, or uneven for adhesive to stick.
Clean the area with rubbing alcohol and let it dry. For better hold, use screws instead of adhesive—just be sure to drill pilot holes to avoid splitting wood.
Signal Drops or Interference
Outdoor environments can introduce interference from power lines, Wi-Fi routers, or nearby electronics.
Keep signal cables (HDMI, Ethernet) separated from power cables by at least 6 inches. Use shielded cables to reduce interference.
If using wireless devices, ensure your Wi-Fi signal reaches the porch. Consider a weatherproof Wi-Fi extender or mesh network node.
Moisture Inside Conduit
Even with outdoor-rated materials, moisture can accumulate inside conduits due to temperature changes.
Install a small drip loop at the lowest point of your cable run to let water drain out. Use silicone sealant around entry points to prevent water ingress.
Difficulty Accessing Cables Later
If you’ve run cables inside walls or under decking, make sure you can access them for future maintenance.
Use removable panels or access hatches. Label access points clearly so you (or a future owner) can find them easily.
Conclusion
Hiding cables for your patio TV on a screened porch might seem like a small detail, but it makes a big difference in how your outdoor space looks, feels, and functions. With the right planning, tools, and techniques, you can create a clean, safe, and stylish setup that enhances your enjoyment for years to come.
Remember: start with a clear plan, choose outdoor-rated materials, and test everything before finalizing. Whether you use conduit, raceways, or in-wall solutions, the goal is the same—a seamless, cable-free experience that lets you focus on what matters most: relaxing and enjoying your screened porch to the fullest.
So grab your tools, follow this guide, and say goodbye to cable clutter. Your patio TV setup is about to look as good as it performs.

