
Discover simple, effective ways to hide cables for your covered patio TV. From using cable raceways to running wires through walls, this guide covers all the best methods to keep your outdoor entertainment area neat and safe.
Key Takeaways
- Use cable raceways for a quick and clean solution: These plastic or metal channels stick to walls and hide wires in plain sight.
- Run cables through walls for a seamless look: Ideal for permanent setups, this method keeps wires completely out of sight.
- Choose weather-resistant materials: Always use outdoor-rated cables and covers to protect against moisture and UV damage.
- Plan your cable route before drilling: Measure distances and avoid sharp bends to prevent signal loss or damage.
- Secure loose wires with clips and ties: Prevent tripping hazards and keep cables organized along beams or posts.
- Test connections before final installation: Ensure your TV, soundbar, and streaming devices work properly before hiding cables.
- Maintain access for future repairs: Use removable covers or access panels so you can easily troubleshoot later.
How to Hide Cables Patio TV for Covered Patio
Setting up a TV on your covered patio is a fantastic way to enjoy movies, sports, and shows outdoors. But let’s be honest—nothing ruins the vibe faster than a tangled mess of cables snaking across your deck or hanging from the ceiling. Not only do exposed wires look messy, but they can also be a tripping hazard or get damaged by weather and pests.
The good news? Hiding cables for your patio TV is easier than you think. Whether you’re a DIY beginner or a seasoned home improver, this step-by-step guide will show you how to hide cables on a covered patio safely, neatly, and affordably. You’ll learn multiple methods—from simple surface-mounted raceways to more advanced in-wall installations—so you can choose the best option for your space.
By the end of this guide, you’ll have a clean, professional-looking outdoor entertainment setup that’s both functional and stylish. Let’s get started!
Why Hiding Cables Matters on a Covered Patio
Before diving into the how-to, it’s important to understand why cable management is crucial—especially in an outdoor setting like a covered patio.
First, **safety** is a top concern. Loose cables can create tripping hazards, especially in areas where people gather, eat, or play. Kids and pets are especially at risk. A single misstep over a power cord could lead to injury or damage to your equipment.
Second, **weather protection** matters. Even though your patio is covered, it’s still exposed to humidity, rain splash, dust, and UV rays. Standard indoor cables aren’t built to handle these conditions. Over time, exposure can degrade insulation, cause shorts, or even create fire risks.
Third, **aesthetics** play a big role. A clean, wire-free look enhances the overall ambiance of your outdoor living space. It makes the area feel more like a true extension of your home—not just a backyard with a TV slapped on the wall.
Finally, **longevity** of your equipment improves with proper cable management. When wires are protected and organized, they’re less likely to get pinched, chewed, or accidentally unplugged. This means fewer repairs and longer life for your TV, sound system, and streaming devices.
In short, hiding your patio TV cables isn’t just about looks—it’s about safety, durability, and enjoying your outdoor space to the fullest.
Planning Your Cable Hiding Strategy
Before you start drilling holes or buying supplies, take time to plan your approach. A little prep work now saves time, money, and frustration later.
Step 1: Map Out Your Equipment
List all the devices that will connect to your TV. Common items include:
– Streaming devices (Roku, Apple TV, Fire Stick)
– Soundbar or outdoor speakers
– Cable box or satellite receiver
– Gaming consoles
– Power strips or surge protectors
Each device needs a power cord and possibly an HDMI or audio cable. Count the total number of cables you’ll need to hide.
Step 2: Measure the Distance
Use a tape measure to determine how far each cable must travel from the TV to the power source and other devices. Most HDMI cables max out at 25 feet for reliable signal quality. If you need longer runs, consider using an HDMI extender or wireless transmitter.
Step 3: Choose a Route
Look for the shortest, safest path from your TV to the outlet and other devices. Ideal routes include:
– Along the wall, behind furniture
– Up and over a beam or support post
– Through the ceiling or wall (if structurally feasible)
Avoid running cables across walkways or under rugs. If you must cross a pathway, use a cable ramp or protective cover.
Step 4: Check for Obstacles
Inspect your planned route for:
– Electrical wires or plumbing inside walls
– Insulation or vapor barriers
– Pest activity (rodents love chewing wires)
If you’re unsure about what’s inside a wall, use a stud finder with a built-in wire detector or consult a professional.
Step 5: Decide on a Method
Based on your patio’s structure and your skill level, choose one or more of the following cable-hiding methods:
– Surface-mounted raceways
– In-wall cable management
– Conduit or trunking
– Cable clips and ties
– Furniture or decor camouflage
We’ll cover each in detail below.
Method 1: Using Cable Raceways (Best for Beginners)
Cable raceways are one of the easiest and most popular ways to hide patio TV cables. These are long, hollow channels that attach to walls or ceilings and hold multiple wires inside. They’re affordable, weather-resistant, and require no major construction.
What You’ll Need
– Outdoor-rated cable raceway kit (plastic or metal)
– Measuring tape
– Pencil
– Level
– Drill and screws (or adhesive strips for lightweight use)
– Wire cutters (if trimming raceway)
– Cable ties (optional, for bundling wires)
Step-by-Step Installation
1. Measure and Cut the Raceways
Measure the length of wall where you’ll install the raceway. Most kits come in 3- to 6-foot sections that can be connected. Use a hacksaw or wire cutters to trim the raceway to size if needed.
2. Plan the Layout
Hold the raceway against the wall and mark where it will go. Use a level to ensure it’s straight. If running vertically, make sure it aligns with the TV and power source.
3. Attach the Raceways
Most outdoor raceways come with adhesive backing or mounting brackets. For a covered patio, adhesive is often sufficient—but for extra security, especially in humid or windy areas, use screws.
– Clean the wall surface with rubbing alcohol to remove dust and grease.
– Peel off the adhesive liner and press the raceway firmly into place.
– If using screws, drill pilot holes first to avoid cracking the material.
4. Insert the Cables
Open the raceway cover (usually snaps on and off). Bundle your cables together using cable ties to keep them neat. Slide the bundled wires into the channel.
5. Close and Secure
Snap the cover back on. Make sure it’s fully sealed to protect against moisture. If the raceway has end caps, install them to give a finished look.
Tips for Success
– Choose a raceway color that matches your wall or trim for a seamless appearance.
– Use a raceway with a removable cover for easy future access.
– Don’t overfill the channel—leave 20–30% space for airflow and ease of insertion.
Method 2: Running Cables Through Walls (For a Clean, Permanent Look)
If you’re comfortable with basic carpentry and electrical work, running cables through walls is the most professional-looking solution. This method hides wires completely, giving your patio a sleek, built-in appearance.
What You’ll Need
– Fish tape or flexible drill bit
– Stud finder
– Drill with long bit
– Wall plates with brush or grommet openings
– Outdoor-rated in-wall HDMI and power cables (CL2 or CL3 rated)
– Cable lubricant (optional, for tight pulls)
– Drywall saw (if cutting new holes)
– Screwdriver and screws
Step-by-Step Installation
1. Turn Off Power
Before drilling into any wall, turn off the power at the circuit breaker. Use a voltage tester to confirm the outlet is dead.
2. Locate Studs and Obstacles
Use a stud finder to map out wall studs, electrical wires, and pipes. Avoid drilling into studs if possible—run cables between them.
3. Drill Access Holes
At the TV location, drill a small hole (1–2 inches) in the wall where the cables will enter. Repeat at the power source or equipment location.
4. Feed the Cables
Attach your cables to a fish tape or use a flexible drill bit to guide them through the wall cavity. Apply cable lubricant if the pull is tight.
5. Install Wall Plates
Mount decorative wall plates with brush openings at both ends. These allow cables to pass through while keeping the look tidy.
6. Connect and Test
Plug in your devices and test the TV, sound, and internet connection. Make sure everything works before sealing the wall.
Important Safety Notes
– Never run power and data cables in the same conduit unless they’re specifically rated for it.
– Use only in-wall rated cables (look for CL2 or CL3 markings).
– If you’re unsure about electrical work, hire a licensed electrician.
Method 3: Using Conduit or Trunking
Conduit is a rigid or flexible tubing that protects cables and can be surface-mounted or buried. It’s ideal for exposed areas or when you want extra durability.
Types of Conduit
– **PVC conduit:** Lightweight, weather-resistant, and easy to cut. Great for outdoor use.
– **Metal conduit:** More durable but harder to install. Best for high-traffic or industrial areas.
– **Flexible conduit:** Useful for tight bends or irregular routes.
Installation Steps
1. Measure and cut the conduit to length.
2. Attach mounting clips every 12–18 inches.
3. Drill pilot holes and secure with screws.
4. Insert cables and close the conduit with end caps.
Pros and Cons
– Pros: Extremely durable, protects against pests and weather, professional look.
– Cons: More expensive, requires tools, less flexible for future changes.
Method 4: Cable Clips and Ties
For a low-cost, temporary solution, use adhesive cable clips or zip ties to secure wires along beams, posts, or under furniture.
How to Use
– Stick adhesive clips every 6–12 inches along the route.
– Bundle cables with zip ties before clipping.
– For outdoor use, choose UV-resistant clips and ties.
Best For
– Quick fixes
– Rentals or temporary setups
– Areas with exposed beams or railings
Method 5: Camouflage with Furniture and Decor
Sometimes the best hiding spot is in plain sight. Use outdoor furniture, planters, or decor to disguise cables.
Ideas
– Run cables behind a weatherproof media console or TV stand.
– Tuck wires under outdoor rugs (use a cable protector if crossing walkways).
– Use tall potted plants or trellises to block the view of wires.
– Install a decorative screen or lattice panel to conceal the entire setup.
Troubleshooting Common Issues
Problem: Cables Are Too Short
Solution: Use high-quality extension cables rated for outdoor use. Avoid daisy-chaining multiple extensions. For HDMI, consider an active extender or wireless HDMI kit.
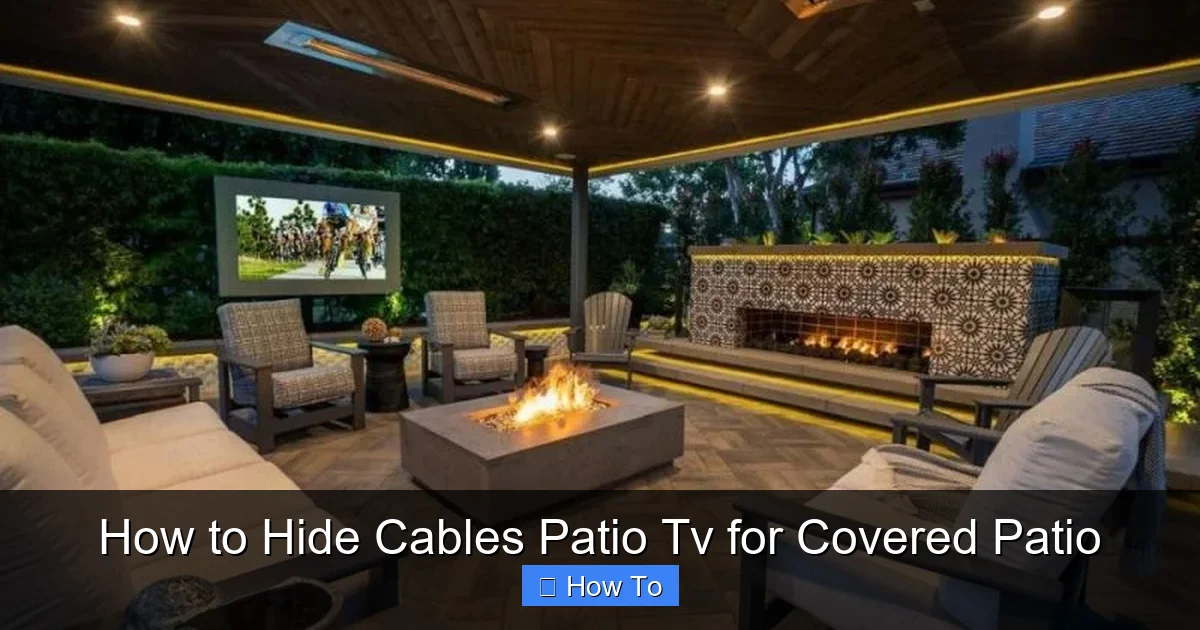
Visual guide about How to Hide Cables Patio Tv for Covered Patio
Image source: cdn.homedit.com
Problem: Signal Loss Over Long Distances
Solution: Use fiber optic HDMI cables or wireless transmitters. These maintain signal quality over 50+ feet.
Problem: Raceways Won’t Stick
Solution: Clean the surface thoroughly. Use outdoor-rated adhesive or switch to screw-mounted raceways.
Problem: Pests Chewing Wires
Solution: Use metal conduit or raceways. Apply peppermint oil or commercial repellents around entry points.
Problem: Water Getting Into Raceways
Solution: Choose raceways with sealed covers. Install end caps and avoid low-lying areas where water pools.
Maintenance Tips
– Inspect cables and covers every 3–6 months for wear, cracks, or loose fittings.
– Clean raceways with a damp cloth to remove dust and debris.
– Re-tighten screws and clips as needed.
– Replace damaged cables immediately—don’t wait for a failure.
Conclusion
Hiding cables for your patio TV doesn’t have to be complicated or expensive. With the right tools and a bit of planning, you can create a clean, safe, and stylish outdoor entertainment space that you’ll love using year-round.
Whether you choose simple raceways, in-wall routing, or clever camouflage, the key is to match the method to your skill level, budget, and patio design. Remember to always use outdoor-rated materials, test your setup before finalizing, and prioritize safety.
Now that you know how to hide cables for your covered patio TV, it’s time to enjoy your favorite shows under the stars—without the clutter.

