
Hiding cables for your outdoor TV doesn’t have to be complicated. This guide walks you through practical, weather-resistant methods to keep wires out of sight and your outdoor bar looking sleek and safe.
Key Takeaways
- Use weatherproof cable management products: Choose outdoor-rated raceways, conduits, and clips designed to withstand sun, rain, and temperature changes.
- Route cables along structural elements: Run wires behind walls, under decking, or along beams to keep them hidden and protected.
- Install in-wall conduits for a clean look: For permanent setups, in-wall cable channels offer the most professional and hidden solution.
- Secure cables with UV-resistant ties and clips: Prevent sagging and damage by using outdoor-safe fasteners that won’t degrade in sunlight.
- Label and organize cables during installation: Make future maintenance easier by tagging each wire and keeping them neatly bundled.
- Ensure safety with proper grounding and GFCI outlets: Protect your equipment and guests by following electrical safety standards.
- Test your setup before finalizing: Check signal strength and power flow after installation to avoid issues later.
How to Hide Cables Outdoor TV for Outdoor Bar
Setting up an outdoor TV for your bar area is a fantastic way to boost entertainment and create a lively atmosphere. Whether you’re watching the big game, hosting a movie night, or just enjoying music with friends, a mounted TV adds a modern touch. But let’s be honest—exposed cables can quickly ruin the vibe. They look messy, pose tripping hazards, and are vulnerable to weather damage.
The good news? Hiding cables for your outdoor TV is easier than you think. With the right tools and a bit of planning, you can achieve a clean, professional look that keeps your outdoor bar safe and stylish. In this guide, we’ll walk you through step-by-step methods to conceal your TV cables, whether you’re working with a permanent setup or a temporary installation.
You’ll learn how to use weatherproof raceways, run wires through walls or under decks, and secure everything with outdoor-safe materials. We’ll also cover safety tips, troubleshooting common issues, and how to maintain your setup over time. By the end, your outdoor TV will look sleek, your cables will be protected, and your guests will be impressed.
Let’s get started!
Why Hiding Outdoor TV Cables Matters
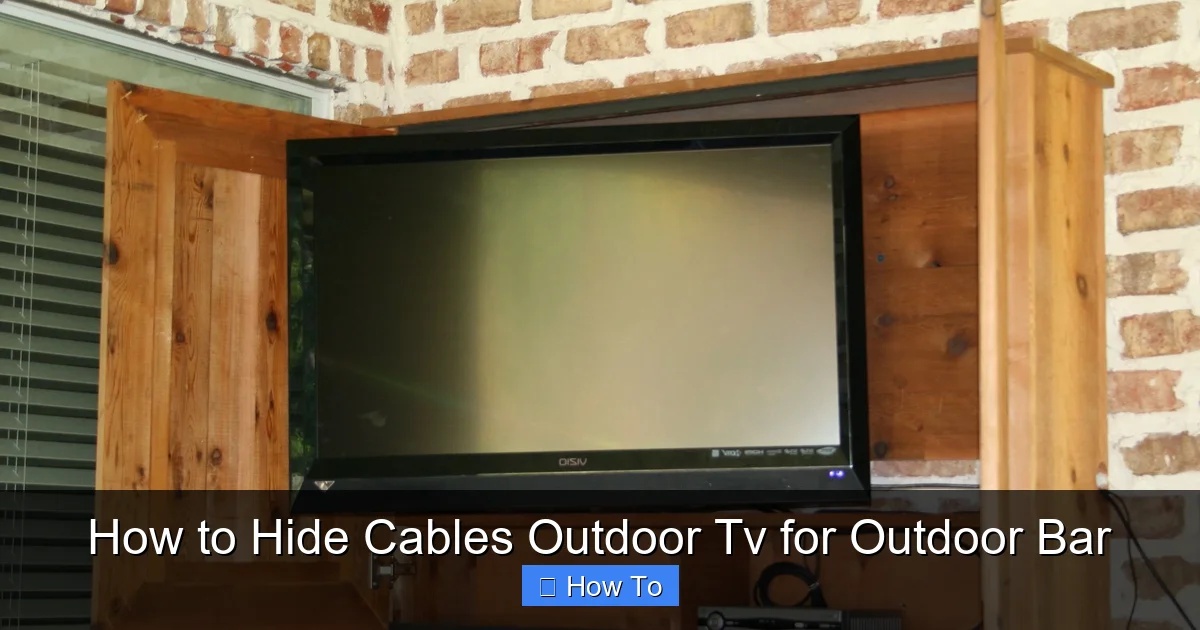
Visual guide about How to Hide Cables Outdoor Tv for Outdoor Bar
Image source: i.pinimg.com
Before diving into the how-to, it’s important to understand why hiding cables is so crucial for an outdoor bar setup.
First, safety is a top priority. Loose cables can become tripping hazards, especially in dim lighting or when guests are mingling. Wet conditions—common in outdoor spaces—increase the risk of electrical shock if wires are exposed or damaged.
Second, weather resistance matters. Sunlight, rain, snow, and temperature swings can degrade standard indoor cables and connectors. Over time, this leads to signal loss, power issues, or even equipment failure.
Third, aesthetics play a big role. A clean, cable-free look enhances the ambiance of your outdoor bar. It makes the space feel more intentional and high-end, which is especially important if you’re using the area for entertaining or business.
Finally, protection from pests and wear. Rodents, insects, and foot traffic can damage exposed wires. Proper cable management keeps them out of sight and out of harm’s way.
In short, hiding your outdoor TV cables isn’t just about looks—it’s about safety, durability, and long-term performance.
Planning Your Cable Hiding Strategy
Before you start drilling or running wires, take time to plan your approach. A little prep work saves time, money, and frustration later.
Assess Your Setup
Start by evaluating your outdoor bar layout. Ask yourself:
– Where is the TV mounted? (Wall, ceiling, freestanding pole?)
– Where is the power source? (Nearby outlet, GFCI-protected?)
– Where are your audio/video sources? (Streaming box, soundbar, gaming console?)
– How far are the cables traveling? (Short run to a nearby cabinet, or long run across the deck?)
Sketch a simple diagram showing the TV, power source, and all connected devices. This helps visualize the cable path and identify the best hiding spots.
Choose the Right Method
There are several ways to hide outdoor TV cables, and the best one depends on your setup:
– Surface-mounted raceways: Great for exposed walls or posts. Easy to install and access later.
– In-wall conduits: Ideal for permanent installations. Offers the cleanest look but requires more work.
– Under-deck routing: Perfect if your bar is on a deck. Keeps cables hidden and protected.
– Cable sleeves and wraps: Useful for bundling and protecting shorter runs.
We’ll cover each method in detail below.
Gather Your Tools and Materials
Here’s a checklist of what you’ll need:
– Outdoor-rated cable raceways or conduits
– UV-resistant cable ties and clips
– Drill and drill bits (for mounting)
– Screws and wall anchors (outdoor-safe)
– Measuring tape and level
– Wire strippers and connectors (if splicing)
– Label maker or tape (for organization)
– GFCI outlet tester (for safety)
– Optional: In-wall fish tape (for conduit installation)
Make sure all electrical components are rated for outdoor use. Look for labels like “UL Listed” or “Weatherproof.”
Method 1: Using Outdoor Cable Raceways
Cable raceways are one of the most popular and effective ways to hide outdoor TV cables. They’re easy to install, look clean, and protect wires from the elements.
Step 1: Choose the Right Raceways
Look for raceways specifically designed for outdoor use. These are typically made from UV-resistant PVC or aluminum and come with weatherproof seals. Popular brands include D-Line, Legrand, and Wiremold.
Choose a size that fits all your cables with a little extra room—don’t pack them too tightly. A 1-inch wide raceway usually works for most TV setups.
Step 2: Plan the Route
Decide where the raceway will run. Common paths include:
– From the TV down the wall to a nearby outlet
– Along a beam or post
– Behind a bar counter or cabinet
Use a measuring tape and level to mark the path. Avoid sharp bends or kinks in the cable.
Step 3: Install the Raceways
1. Clean the surface where the raceway will attach.
2. Peel off the adhesive backing (if self-adhesive) or use screws for a more secure mount.
3. Press or screw the raceway into place, following your marked line.
4. Open the raceway cover and lay the cables inside.
5. Close the cover and snap or screw it shut.
Tip: If running vertically, install the raceway upside down so water doesn’t pool inside.
Step 4: Secure and Finish
Use outdoor-rated cable clips every 12–18 inches to keep the raceway stable. Trim any excess with a utility knife.
For a seamless look, paint the raceway to match your wall or post (use outdoor paint).
Method 2: Running Cables Through Walls
For a truly hidden look, running cables through walls is the gold standard. This method works best if your outdoor bar has a solid wall or enclosure.
Step 1: Check Local Codes
Before drilling into walls, check local building codes. Some areas require permits for electrical work, especially outdoors.
Also, ensure your wall can safely handle the installation. Avoid load-bearing walls or areas with plumbing.
Step 2: Drill Access Holes
Use a stud finder to locate studs and avoid them. Drill a small pilot hole from the inside (where your devices are) to the outside (near the TV).
Then, use a larger hole saw (1.5–2 inches) to create access points.
Step 3: Feed the Cables
Use a fish tape or flexible rod to pull cables through the wall. Attach the cables to the tape with electrical tape, then gently pull them through.
If the run is long or has bends, consider using a conduit (flexible tubing) to protect the wires.
Step 4: Seal the Holes
Once cables are in place, seal the holes with outdoor-rated caulk or foam. This prevents moisture and pests from entering.
Install wall plates or grommets for a clean finish.
Method 3: Hiding Cables Under Decking
If your outdoor bar is on a deck, running cables underneath is a smart and hidden solution.
Step 1: Access the Underside
Remove a deck board near the TV and power source. Use a pry bar carefully to avoid damage.
Step 2: Route the Cables
Run the cables along the joists or beams underneath the deck. Use UV-resistant zip ties to secure them every 18 inches.
Avoid sharp edges or nails that could cut the insulation.
Step 3: Protect the Cables
Use flexible conduit or split loom tubing to shield the wires from moisture and abrasion.
Ensure the cables are not pinched or bent sharply.
Step 4: Reinstall Deck Boards
Replace the deck board and secure it with deck screws. Check that the surface is level and safe.
Method 4: Using Cable Sleeves and Wraps
For shorter runs or temporary setups, cable sleeves are a quick and flexible option.
Step 1: Bundle the Cables
Gather all your cables (power, HDMI, audio) and bundle them together.
Step 2: Slide on the Sleeve
Use a spiral wrap, braided sleeve, or zip-up cable sleeve. These are flexible and easy to install.
Choose a sleeve with UV protection and water resistance.
Step 3: Secure the Ends
Use outdoor zip ties or Velcro straps to close the sleeve ends. This keeps dirt and moisture out.
Securing and Organizing Cables
No matter which method you use, proper securing and organization are key.
Use Outdoor-Safe Fasteners
Standard zip ties can become brittle in sunlight. Use UV-resistant ties made from nylon or polypropylene.
Mount cables with adhesive-backed clips or screw-in hooks every 12–18 inches.
Label Everything
Use a label maker or colored tape to identify each cable. For example:
– Red tape: Power
– Blue tape: HDMI
– Green tape: Audio
This makes troubleshooting and upgrades much easier.
Bundle Neatly
Avoid loose, tangled wires. Use Velcro straps or cable organizers to keep bundles tight and tidy.
Electrical Safety Tips
Outdoor electrical work requires extra caution.
Use GFCI Outlets
Ground Fault Circuit Interrupter (GFCI) outlets protect against electrical shock. Make sure your outdoor power source is GFCI-protected.
Test the outlet monthly by pressing the “Test” and “Reset” buttons.
Keep Connections Dry
Use weatherproof outlet covers or in-use covers that seal when plugs are inserted.
Avoid splicing wires outdoors unless absolutely necessary. If you must, use waterproof wire nuts and electrical tape.
Don’t Overload Circuits
Check the wattage of your TV and accessories. Don’t exceed the circuit’s capacity.
Use a power strip with surge protection if needed.
Troubleshooting Common Issues
Even with careful planning, problems can arise.
Cables Are Too Short
Use outdoor-rated extension cords or HDMI extenders. Avoid daisy-chaining multiple extensions.
Signal Loss Over Long Runs
For HDMI cables over 25 feet, use active HDMI cables or fiber optic HDMI for better signal quality.
Raceways Fill Up Too Fast
If you add more devices later, upgrade to a larger raceway or install a second one.
Water Gets Into Conduits
Ensure all seals are tight. Use drip loops (a downward curve in the cable) before entering the raceway to prevent water from traveling inward.
Cables Sag or Come Loose
Add more support clips. Check that fasteners are rated for outdoor use and haven’t degraded.
Maintaining Your Outdoor Cable Setup
Regular maintenance keeps your system running smoothly.
Inspect Every Season
Check cables, raceways, and connections for damage, corrosion, or wear. Look for cracks, fraying, or loose mounts.
Clean Raceways and Sleeves
Wipe down raceways with a damp cloth to remove dirt and debris. Avoid harsh chemicals.
Re-Tighten Fasteners
Over time, screws and clips can loosen. Re-secure them annually.
Update as Needed
If you add new devices, reassess your cable management. Upgrade raceways or add labels as necessary.
Final Thoughts
Hiding cables for your outdoor TV doesn’t have to be a headache. With the right approach, you can create a clean, safe, and professional-looking setup that enhances your outdoor bar.
Whether you choose surface raceways, in-wall conduits, under-deck routing, or cable sleeves, the key is planning, using outdoor-rated materials, and prioritizing safety.
Remember: A well-managed cable system protects your investment, reduces hazards, and keeps your space looking great year-round.
Take your time, follow the steps, and don’t hesitate to consult a professional electrician if you’re unsure about any part of the installation.
Now go enjoy your outdoor TV—without the cable clutter!

