
This guide shows you how to hide cables for an outdoor television on a small patio using simple, weather-resistant methods. From cable raceways to in-wall installation, you’ll keep your setup clean, safe, and stylish.
Key Takeaways
- Choose weatherproof materials: Always use outdoor-rated cable management products to protect against rain, sun, and temperature changes.
- Plan your cable route first: Map out the path from your TV to the power source and signal devices before drilling or installing anything.
- Use cable raceways for quick fixes: Surface-mounted raceways are ideal for small patios and can be painted to match your wall or fence.
- Consider in-wall installation for a clean look: If your patio has access to interior walls, running cables inside gives a seamless finish.
- Secure cables properly: Use UV-resistant zip ties, clips, or adhesive mounts designed for outdoor use to prevent sagging or damage.
- Test connections before finalizing: Always check that your TV, soundbar, and streaming devices work before securing all cables in place.
- Maintain access for future repairs: Avoid permanently sealing cables so you can easily replace or upgrade them later.
How to Hide Cables Outdoor Television for Small Patio
Setting up an outdoor television on your small patio can transform your backyard into a cozy entertainment zone. Whether you’re watching the big game, enjoying a movie night under the stars, or catching up on your favorite shows, an outdoor TV adds comfort and fun. But one common challenge? The messy tangle of cables snaking across your patio floor or dangling from the wall.
Nobody wants tripping hazards or unsightly wires ruining the look of their outdoor oasis. The good news is that hiding cables for your outdoor TV doesn’t require a professional installer or a huge budget. With the right tools, a bit of planning, and some smart cable management techniques, you can achieve a clean, safe, and stylish setup.
In this guide, we’ll walk you through step-by-step methods to hide cables for your outdoor television on a small patio. You’ll learn about weatherproof solutions, easy-to-install products, and clever tricks to keep everything organized. Whether you’re working with a concrete slab, a wooden deck, or a brick wall, we’ve got you covered.
By the end of this guide, you’ll know exactly how to route, conceal, and protect your cables—so your outdoor TV looks sleek and functions flawlessly, rain or shine.
Why Hiding Outdoor TV Cables Matters
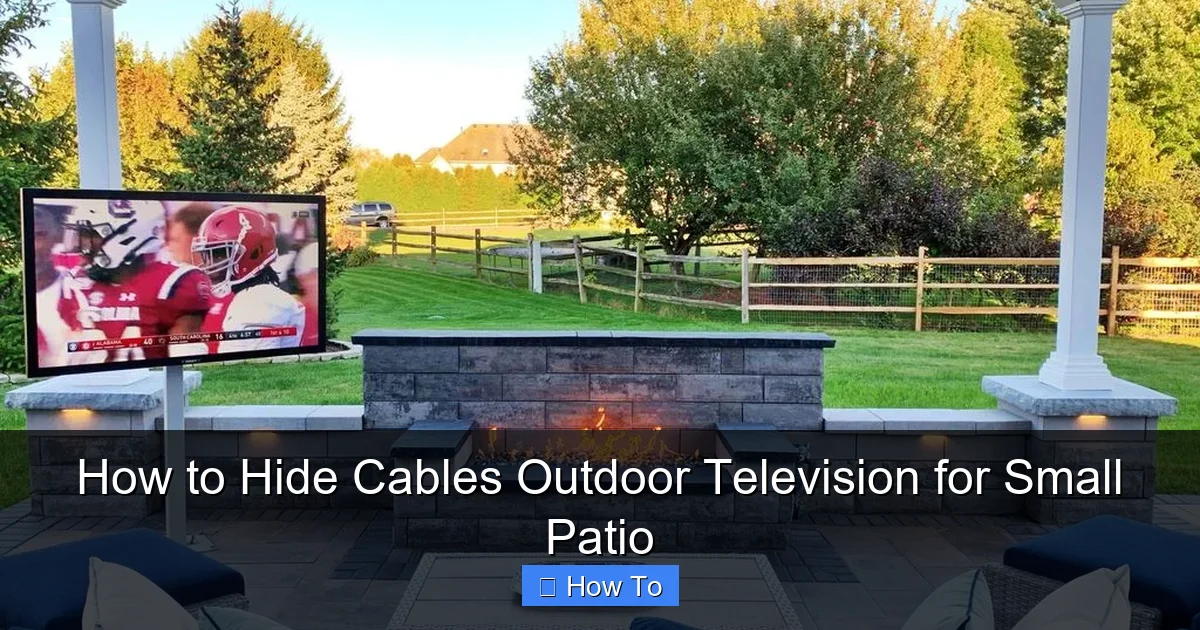
Visual guide about How to Hide Cables Outdoor Television for Small Patio
Image source: cdn.mos.cms.futurecdn.net
Before diving into the how-to, let’s talk about why cable management is so important for outdoor TVs.
First, safety. Exposed cables are a tripping hazard, especially in low-light conditions or when guests are over. A single misstep could lead to injury or damage to your equipment. Second, aesthetics. A clean, wire-free setup enhances the visual appeal of your patio. No one wants to see power cords, HDMI cables, and coaxial wires cluttering up their outdoor living space.
Third, protection. Outdoor cables are exposed to the elements—rain, snow, UV rays, and temperature swings. Without proper shielding, they can degrade quickly, leading to signal loss, power issues, or even electrical hazards. Finally, longevity. Properly managed cables last longer and perform better, saving you money and hassle in the long run.
Hiding cables isn’t just about looks—it’s about creating a safer, more durable, and more enjoyable outdoor entertainment experience.
Assess Your Patio Setup
Before you start hiding cables, take a good look at your patio layout. Understanding your space will help you choose the best cable management method.
Start by identifying where your TV will be mounted. Is it on a wall, a freestanding stand, or a pergola? Next, locate your power source. Is there an outdoor outlet nearby, or will you need to run an extension cord from inside? Also, consider where your other devices are—like a streaming box, soundbar, or satellite receiver. These all need power and signal connections.
Measure the distance between your TV and each device. This will help you buy the right length of cables and plan your routing path. For small patios, you might only need a few feet of cable, but it’s always smart to add a little extra for flexibility.
Also, note the materials around your TV. Are you working with wood, brick, concrete, or vinyl siding? Different surfaces require different mounting hardware and techniques. For example, drilling into concrete needs a masonry bit, while wood can be screwed directly.
Finally, think about access. Will your cables need to be reachable for future upgrades or repairs? If so, avoid permanent sealing methods.
Taking 10 minutes to assess your setup now can save you hours of frustration later.
Gather the Right Tools and Materials
Having the right tools and materials makes all the difference. Here’s a checklist of what you’ll need to hide cables for your outdoor TV:
- Weatherproof cable raceways: These are plastic or metal channels that snap over cables and mount to walls or fences. Look for UV-resistant, waterproof models rated for outdoor use.
- Outdoor-rated cables: Use HDMI, power, and coaxial cables labeled for outdoor or in-wall use. These have thicker insulation and better shielding.
- Cable clips and mounts: Adhesive-backed or screw-in clips keep cables secure and prevent sagging.
- Drill and drill bits: For mounting raceways or running cables through walls.
- Screws and anchors: Choose stainless steel or coated hardware to resist rust.
- Cable ties: UV-resistant zip ties help bundle cables neatly.
- Paint (optional): To match raceways or clips to your wall color.
- Measuring tape and level: For accurate placement.
- Electrical tape: For temporary bundling or labeling.
- GFCI outlet or extension cord (if needed): Ensures safe power delivery outdoors.
You can find most of these items at hardware stores like Home Depot, Lowe’s, or online retailers like Amazon. Investing in quality materials now prevents problems down the road.
Step 1: Plan Your Cable Route
The first step in hiding cables is planning the route they’ll take from your TV to the power source and other devices.
Start by sketching a simple diagram of your patio. Mark the TV location, outlets, and any obstacles like furniture, plants, or railings. Then, trace the shortest, most direct path for your cables. Avoid high-traffic areas where people walk or sit.
For example, if your TV is mounted on a wall near a sliding glass door, you might run cables down the wall, along the baseboard, and into an outdoor outlet. Or, if your TV is on a stand in the middle of the patio, you could route cables under a deck board or along a fence.
Consider elevation too. Running cables along the top of a wall or under a ledge keeps them out of sight and reduces tripping risks. If you’re using a freestanding TV, think about hiding cables behind furniture or planters.
Also, plan for slack. Leave a little extra cable at each end so you can move devices slightly if needed. But don’t leave too much—excess cable can look messy and get tangled.
Once you have a route, measure it to determine how much raceway or conduit you’ll need. Add 10–15% extra for safety.
Step 2: Choose the Right Cable Management Method
There are several ways to hide outdoor TV cables, and the best one depends on your patio setup, budget, and desired look. Here are the most effective methods:
Surface-Mounted Cable Raceways
Raceways are the easiest and most popular solution for small patios. These are plastic or metal channels that snap over your cables and mount directly to walls, fences, or posts.
They come in various sizes and colors, and many can be painted to match your outdoor décor. Look for models with a hinged or removable cover for easy access.
To install, clean the surface, mark the mounting points, drill pilot holes, and secure the raceway with screws. Then, lay your cables inside and snap the cover shut.
Raceways are great for renters or anyone who doesn’t want to drill into walls. They’re also quick to install and can be removed later without major damage.
In-Wall Cable Installation
For a truly clean, professional look, consider running cables inside the wall. This method is ideal if your patio TV is mounted on an exterior wall of your home.
You’ll need to drill a hole from the outside into the wall cavity, feed the cables through, and connect them to an interior outlet or junction box. Use a fish tape or flexible rod to guide the cables.
This method requires more work and may need a licensed electrician if you’re dealing with power cables. But the result is a completely hidden setup with no visible wires.
Conduit or Flexible Tubing
If you’re running cables along the ground or under a deck, use weatherproof conduit or flexible tubing. This protects cables from moisture, pests, and physical damage.
PVC conduit is affordable and easy to cut, while metal conduit offers extra durability. Flexible corrugated tubing is great for tight spaces or curved paths.
Secure the conduit with outdoor-rated clips or straps every 12–18 inches.
Cable Clips and Adhesive Mounts
For minimal cable runs or temporary setups, use adhesive-backed clips or screw-in mounts. These hold individual cables in place along walls or under railings.
They’re inexpensive and easy to install, but not ideal for long runs or multiple cables. Use them to guide cables neatly to a central raceway or outlet.
Furniture and Planter Hiding Spots
Get creative! Use outdoor furniture, planters, or decorative screens to hide cables. For example, run cables behind a bench or under a large potted plant.
Just make sure cables aren’t pinched, crushed, or exposed to water. Use clips to keep them elevated and secure.
Step 3: Install Weatherproof Cable Raceways
Let’s walk through installing surface-mounted raceways, one of the most effective methods for small patios.
Measure and Mark
Use your measuring tape to determine the length of raceway needed. Mark the start and end points on the wall or fence. Use a level to ensure your marks are straight.
Prepare the Surface
Clean the area with soap and water to remove dirt and grease. Let it dry completely. This helps adhesives and screws hold better.
Cut the Raceways (if needed)
Most raceways can be cut with a hacksaw or utility knife. Measure twice, cut once. Use a file to smooth rough edges.
Drill Pilot Holes
Hold the raceway in place and mark screw locations every 12–18 inches. Drill pilot holes slightly smaller than your screws to prevent cracking.
Secure the Raceways
Attach the base of the raceway to the wall using stainless steel screws and wall anchors (for brick or concrete). Make sure it’s level and tight.
Insert the Cables
Lay your HDMI, power, and other cables inside the raceway. Bundle them with a zip tie if needed, but don’t overtighten—cables need room to breathe.
Snap on the Cover
Close the raceway cover and press firmly until it clicks into place. Check that all cables are secure and not pinched.
Paint (Optional)
If your raceway doesn’t match your wall, paint it with outdoor latex paint. Let it dry completely before use.
Step 4: Run Cables Through Walls (Advanced)
If you’re comfortable with DIY electrical work and your patio TV is on an exterior wall, in-wall installation offers the cleanest look.
Turn Off Power
Before drilling, turn off power to the outlet you’ll be working with at the circuit breaker.
Locate Wall Studs
Use a stud finder to avoid drilling into studs. Mark the safe zones for your cable path.
Drill Entry and Exit Holes
Drill a small hole (1–2 inches) from the outside into the wall cavity near the TV. Drill a corresponding hole inside near the outlet.
Feed the Cables
Use a fish tape to pull cables from the outside to the inside. Attach cables to the fish tape with electrical tape and gently pull them through.
Connect to Outlet
Inside, connect power cables to a GFCI outlet or junction box. For HDMI and signal cables, use wall plates with built-in ports for a clean finish.
Seal the Holes
Use outdoor caulk or foam sealant to close the exterior hole and prevent water intrusion.
This method requires caution and may need professional help, especially for power cables. Always follow local electrical codes.
Step 5: Secure Loose Cables with Clips and Ties
Even with raceways, you may have short cable runs that need extra support.
Use outdoor-rated cable clips to attach cables to walls, fences, or under railings. Adhesive clips work well on smooth surfaces, while screw-in clips are better for wood or metal.
For bundling multiple cables, use UV-resistant zip ties. Avoid over-tightening, which can damage cable insulation.
Label each cable with tape or tags so you know which is which—HDMI, power, coaxial, etc. This makes troubleshooting much easier.
Step 6: Test Your Setup
Before you finalize everything, test your TV and all connected devices.
Turn on the TV and check the picture and sound. Make sure your streaming box, soundbar, or cable box is receiving power and signal.
If something isn’t working, double-check connections. Loose HDMI cables or faulty power adapters are common culprits.
Once everything is working, secure any remaining cables and close all raceway covers.
Troubleshooting Common Issues
Even with careful planning, problems can arise. Here’s how to fix the most common issues:
Cables Are Too Short
If your cables don’t reach, use high-quality outdoor extension cords or HDMI extenders. Avoid daisy-chaining multiple extensions, which can cause signal loss.
Raceways Are Sagging
This happens when they’re not secured properly. Add more screws or use heavier-duty mounts. Make sure the surface is clean and level.
Cables Get Wet
If moisture gets inside raceways, check for gaps or cracks. Seal them with outdoor caulk. Use waterproof cable glands at entry points.
Signal Loss or Interference
Long HDMI runs can weaken signals. Use active HDMI cables or signal boosters for runs over 25 feet. Keep power cables away from signal cables to reduce interference.
Adhesive Clips Fail
Outdoor adhesives can weaken in heat or rain. Replace failed clips with screw-in mounts for a more permanent solution.
Maintain Your Cable Setup
To keep your outdoor TV cables in top shape, perform regular maintenance.
Every few months, inspect raceways and clips for damage, rust, or loosening. Clean them with a damp cloth to remove dirt and debris.
Check cables for fraying, cracks, or discoloration. Replace any that show signs of wear.
Trim back plants or vines that might grow over cables or raceways.
And after heavy storms, make sure no water has pooled around your setup.
A little upkeep goes a long way in preventing problems.
Conclusion
Hiding cables for your outdoor television on a small patio doesn’t have to be complicated or expensive. With the right approach, you can achieve a clean, safe, and professional-looking setup that enhances your outdoor living space.
Start by assessing your patio and planning your cable route. Choose the best method for your needs—whether it’s surface-mounted raceways, in-wall installation, or creative hiding spots. Use weatherproof materials and secure everything properly. Test your connections and maintain your setup over time.
By following this guide, you’ll enjoy a clutter-free patio where you can relax and entertain without worrying about tripping over wires or dealing with damaged cables. Your outdoor TV will look great, perform reliably, and last for years to come.
So grab your tools, pick your method, and get started. Your perfect outdoor entertainment zone is just a few steps away.

