
Hiding cables for a garden TV on a pergola doesn’t have to be complicated. This guide walks you through simple, effective methods to keep wires out of sight while ensuring safety and durability. Enjoy a clean, organized outdoor entertainment area without compromising on functionality.
Key Takeaways
- Plan your cable route first: Map out the path from your TV to the power source and other devices before installing anything. This prevents messy rerouting later.
- Use weatherproof materials: All cable management solutions must be UV-resistant and waterproof to withstand outdoor conditions.
- Choose the right concealment method: Options include cable raceways, conduit, zip ties, and decorative covers—pick based on your pergola style and needs.
- Secure cables properly: Loose wires can sag, get damaged, or become tripping hazards. Use clips, staples, or adhesive mounts designed for outdoor use.
- Test connections before finalizing: Always check that your TV and devices work after routing cables to avoid rework.
- Prioritize safety: Keep power cords away from water sources and use GFCI outlets to prevent electrical hazards.
- Maintain accessibility: Design your setup so you can easily access cables for repairs or upgrades without dismantling the whole system.
How to Hide Cables Garden TV for Pergola
So you’ve set up your dream outdoor entertainment space—complete with a sleek garden TV mounted on your pergola. But now you’re staring at a tangled mess of power cords, HDMI cables, and audio wires snaking across your deck or lawn. Not exactly the relaxing oasis you imagined, right?
Don’t worry. Hiding cables for your garden TV doesn’t require an engineering degree or a full renovation. With a little planning and the right tools, you can create a clean, safe, and stylish setup that lets you enjoy movie nights under the stars without tripping over wires.
In this guide, we’ll walk you through every step of hiding cables for your garden TV on a pergola—from planning your layout to choosing the best concealment methods and ensuring everything stays secure through rain, sun, and wind. Whether you’re a DIY beginner or a seasoned home improver, you’ll find practical, budget-friendly solutions that work for your space.
Let’s get started.
Why Hiding Cables Matters
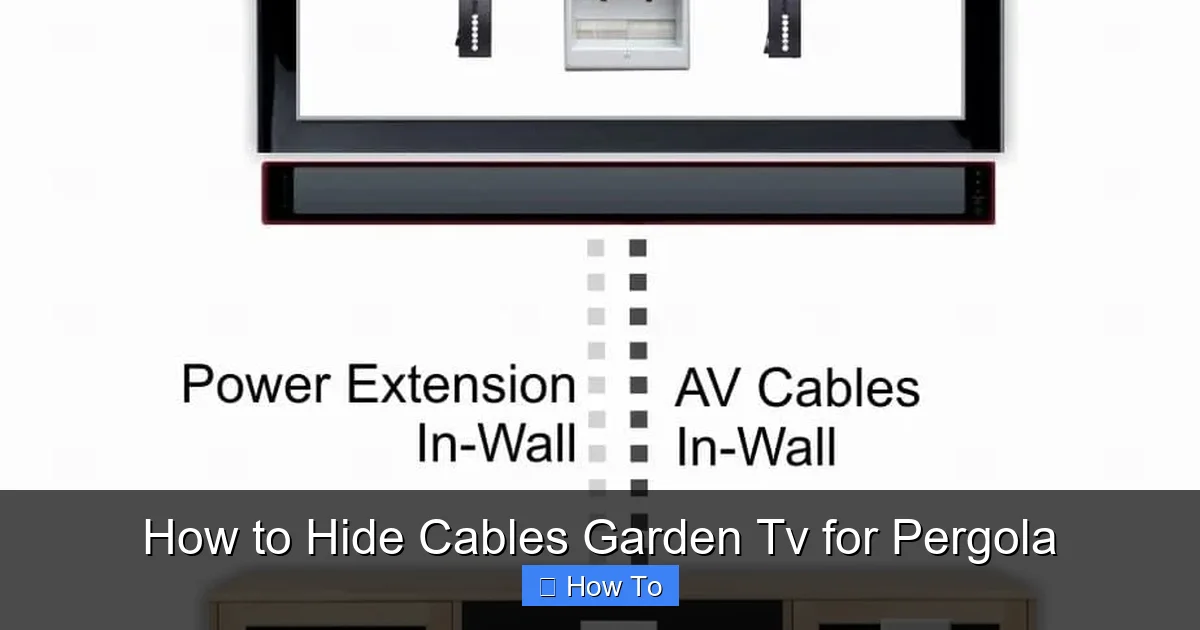
Visual guide about How to Hide Cables Garden Tv for Pergola
Image source: hellotech.com
Before diving into the how-to, let’s talk about why this matters. Aesthetics are important—nobody wants to see a spaghetti junction of cables ruining their backyard vibe. But it’s not just about looks.
Safety is a major concern. Exposed cables can become tripping hazards, especially in low light or when guests are over. They’re also vulnerable to damage from lawn mowers, pets, or weather. Water and electricity don’t mix, so keeping cords protected reduces the risk of short circuits or shocks.
Durability is another factor. Sunlight, rain, and temperature swings can degrade standard indoor cables over time. Without proper protection, you might face frequent replacements or signal loss.
Finally, functionality improves when cables are organized. You’ll spend less time troubleshooting loose connections and more time enjoying your shows.
So yes—hiding cables isn’t just a cosmetic fix. It’s a smart investment in safety, longevity, and peace of mind.
Step 1: Plan Your Cable Route
The first and most important step is planning. Rushing into installation without a map can lead to messy results, damaged cables, or even electrical issues.
Identify Power and Signal Sources
Start by locating where your power comes from. Is there an outdoor GFCI outlet nearby? If not, you may need to install one—this is crucial for safety. A licensed electrician can help run a dedicated circuit from your home’s breaker panel to the pergola area.
Next, identify where your TV signal comes from. Are you using a streaming device like a Roku or Apple TV? Do you have a cable box or satellite receiver? These devices need power and often connect to your TV via HDMI.
Make a list of all components:
– TV
– Streaming device
– Soundbar or speakers (if applicable)
– Power strips or surge protectors
– Any lighting or fans powered through the same system
Map the Shortest, Safest Path
Now, trace the shortest route from each device to the power source and to the TV. Avoid crossing high-traffic areas like walkways or seating zones. If possible, run cables along the underside of the pergola beams or inside structural supports.
Consider these common routes:
– Along the pergola posts (vertical)
– Under the pergola roof (horizontal)
– Through the ground (if burying is an option)
– Behind decorative panels or lattice
Use a tape measure to estimate cable lengths. Always add 10–15% extra length to allow for slack and future adjustments.
Check Local Codes and Permits
If you’re running new electrical wiring or burying cables, check your local building codes. Some areas require permits for outdoor electrical work. When in doubt, consult a professional.
Step 2: Choose the Right Cable Management Tools
Once your route is planned, it’s time to pick the right tools to hide and protect your cables. The best solution depends on your pergola style, climate, and budget.
Outdoor Cable Raceways
Cable raceways are plastic or metal channels that snap or screw onto surfaces to hold multiple cables. They’re ideal for running wires along pergola beams or posts.
Pros:
– Easy to install
– Hide multiple cables at once
– Available in white, black, or wood-grain finishes
– Weather-resistant options exist
Cons:
– May not blend perfectly with natural wood
– Can collect dust or debris over time
Look for raceways labeled “UV-resistant” and “waterproof.” Brands like D-Line and Legrand offer great outdoor options.
Flexible Conduit
Flexible conduit is a corrugated plastic or metal tube that protects individual cables. It’s perfect for running wires through tight spaces or along curved surfaces.
Pros:
– Excellent protection against moisture and pests
– Flexible and easy to route
– Can be painted to match your pergola
Cons:
– Requires cutting and fitting
– May need special connectors
Use PVC conduit for most outdoor applications. It’s lightweight, affordable, and resistant to corrosion.
Cable Clips and Zip Ties
For a minimalist approach, use outdoor-rated cable clips or zip ties to secure wires directly to pergola beams.
Pros:
– Inexpensive and quick to install
– Great for short runs or single cables
– Low profile
Cons:
– Not ideal for multiple cables
– Can look messy if overused
– May degrade in sunlight over time
Choose stainless steel or UV-resistant plastic clips. Avoid regular zip ties—they become brittle and break after a few months in the sun.
Decorative Cable Covers
Want something that looks like part of the design? Try decorative cable covers that mimic wood, stone, or rope.
Pros:
– Blend seamlessly with outdoor decor
– Add a stylish touch
– Protect cables from UV and moisture
Cons:
– More expensive
– Limited color and style options
These work well along deck railings or under pergola edges.
Burying Cables (Advanced Option)
If you’re willing to do some digging, burying cables underground is the ultimate hidden solution.
Pros:
– Completely invisible
– Maximum protection
– Long-term durability
Cons:
– Labor-intensive
– Requires trenching and conduit
– Not ideal for renters or temporary setups
Use direct-burial-rated cables and run them through PVC conduit buried at least 18 inches deep. Always call 811 before digging to check for underground utilities.
Step 3: Prepare Your Cables
Before installing anything, prepare your cables for outdoor use.
Use Outdoor-Rated Cables
Standard indoor cables aren’t built for the elements. Swap them out for outdoor-rated versions:
– Outdoor HDMI cables: Look for “direct burial” or “UV-resistant” labels.
– Outdoor power cords: Use heavy-duty extension cords rated for outdoor use (SJTW or SJTOW).
– Ethernet cables: Choose Cat6 or Cat6a with waterproof jackets if connecting to a network.
Avoid cheap, unmarked cables—they may fail quickly or pose a fire risk.
Label Each Cable
Use waterproof labels or colored tape to mark each cable at both ends. For example:
– “HDMI – Roku”
– “Power – TV”
– “Audio – Soundbar”
This makes troubleshooting and future upgrades much easier.
Bundle Cables Together
Use Velcro straps or cable sleeves to group related cables. This reduces clutter and makes routing simpler. Avoid over-tightening—cables need room to breathe.
Step 4: Install the Cable Management System
Now it’s time to put your plan into action. Follow these steps for a clean, secure installation.
Mount the TV and Devices
Start by mounting your TV on the pergola. Use a weatherproof outdoor TV mount designed for your screen size and weight. Ensure it’s securely anchored to a sturdy beam or post.
Next, place your streaming device, soundbar, or other components in a dry, ventilated area. Avoid enclosing them in tight spaces where heat can build up.
Run Cables Along the Planned Route
Begin at the power source and work toward the TV. Feed cables through raceways, conduit, or clips as you go.
For vertical runs (up the pergola post):
– Use adhesive-backed clips every 12–18 inches.
– Leave a little slack at the top and bottom for movement.
For horizontal runs (under the pergola roof):
– Attach raceways or conduit to the underside of beams.
– Use screws or heavy-duty outdoor tape (like 3M VHB) for secure mounting.
Secure Connections with Weatherproofing
Outdoor connections are vulnerable to moisture. Protect them with:
– Silicone sealant: Apply around cable entry points into boxes or raceways.
– Weatherproof junction boxes: Use for power strips or splices.
– Coaxial or HDMI couplers with rubber gaskets: Prevent water ingress at connection points.
Never leave bare wire exposed.
Test Everything Before Finalizing
Plug in your TV and devices. Turn them on and check:
– Is the picture clear?
– Is the sound working?
– Are all apps loading?
If something isn’t working, double-check connections and cable integrity. It’s much easier to fix issues now than after everything is hidden.
Step 5: Maintain and Upgrade Your System
Hiding cables isn’t a one-and-done task. Regular maintenance ensures your setup stays safe and functional.
Inspect Every Season
Check your cables and mounts at least twice a year—spring and fall are ideal. Look for:
– Frayed or cracked insulation
– Loose clips or raceways
– Signs of pests (chewed wires)
– Water damage or corrosion
Replace damaged components immediately.
Clean Raceways and Conduits
Dust, leaves, and dirt can accumulate inside raceways. Use a soft brush or compressed air to clean them out.
Plan for Future Upgrades
Leave extra slack in your cables and consider installing a larger raceway than needed. This makes it easier to add new devices later—like a smart speaker or outdoor camera—without redoing the entire system.
Troubleshooting Common Issues
Even with careful planning, problems can arise. Here’s how to handle the most common ones.
Cables Are Still Visible
If your concealment method isn’t hiding cables well, try:
– Painting raceways or conduit to match your pergola
– Adding decorative vines or climbing plants to cover gaps
– Using longer raceways to extend coverage
Signal Loss or Interference
Weak HDMI or audio signals can result from:
– Cables that are too long (HDMI signals degrade over 25 feet)
– Poor-quality cables
– Electromagnetic interference from power lines
Solution: Use signal boosters or fiber-optic HDMI cables for long runs. Keep data cables separated from power cables by at least 6 inches.
Water Getting Into Connections
If you notice moisture inside raceways or boxes:
– Reapply silicone sealant
– Upgrade to fully enclosed, gasketed boxes
– Ensure all cables enter from the bottom (to prevent water dripping in)
Animals Chewing Cables
Squirrels, raccoons, and rodents love chewing on wires. Protect them with:
– Metal conduit
– Cable armor sleeves
– Repellent sprays (non-toxic, pet-safe)
Safety Tips You Can’t Ignore
Outdoor electrical work comes with risks. Follow these safety guidelines to protect yourself and your family.
Use GFCI Outlets
Ground Fault Circuit Interrupter (GFCI) outlets shut off power instantly if they detect a fault—like water contact. Install one within 6 feet of your pergola. Test it monthly.
Never Overload Circuits
Add up the wattage of all devices on the same circuit. Don’t exceed 80% of the circuit’s capacity. For a 15-amp circuit, that’s about 1,440 watts.
Keep Cables Away from Water
Avoid running cables near sprinklers, pools, or garden hoses. If crossing a wet area is unavoidable, use elevated raceways or conduit.
Hire a Pro for Electrical Work
If you’re not confident working with electricity, hire a licensed electrician. It’s not worth the risk of shock or fire.
Final Thoughts
Hiding cables for your garden TV on a pergola might seem like a small detail, but it makes a big difference in how you experience your outdoor space. A clean, organized setup lets you focus on what matters—relaxing with family, hosting friends, and enjoying the great outdoors.
By planning your route, choosing the right materials, and following safety best practices, you can create a system that’s both beautiful and functional. And with regular maintenance, it’ll last for years.
So grab your tools, map out your plan, and get to work. Your perfect backyard movie night is just a few hidden cables away.

