
Hiding cables for your garden TV outdoor bar doesn’t have to be complicated. This guide walks you through practical, weather-resistant methods to keep wires out of sight and your outdoor space looking sleek and safe. From conduit systems to clever landscaping tricks, you’ll find the perfect solution for your setup.
Key Takeaways
- Use weatherproof cable conduits: Protect cables from rain, UV rays, and foot traffic with durable, outdoor-rated conduit systems.
- Route cables underground when possible: Burying cables in shallow trenches keeps them hidden and reduces tripping hazards.
- Leverage garden features for concealment: Use planters, trellises, or garden beds to naturally camouflage wires.
- Choose the right cable management products: Opt for UV-resistant clips, raceways, and cable covers designed for outdoor use.
- Ensure electrical safety and code compliance: Always use outdoor-rated extension cords and GFCI outlets to prevent shocks and fires.
- Plan your layout before installation: Map out TV placement, power sources, and cable paths to avoid last-minute changes.
- Maintain accessibility for future repairs: Avoid sealing cables permanently so you can easily access them if needed.
How to Hide Cables for Your Garden TV Outdoor Bar
So, you’ve built the ultimate outdoor bar—complete with a sleek garden TV, ambient lighting, and maybe even a mini-fridge. It’s the perfect spot for summer barbecues, game nights, or just unwinding with a cold drink under the stars. But there’s one thing ruining the vibe: a tangled mess of cables snaking across your patio or lawn.
Don’t worry—you’re not alone. Many outdoor entertainment setups suffer from the same issue: visible, exposed wires that look messy and can be dangerous. The good news? Hiding cables for your garden TV outdoor bar is totally doable, even if you’re not a DIY expert.
In this guide, we’ll walk you through step-by-step methods to conceal your cables safely and stylishly. Whether you’re working with a small balcony bar or a sprawling backyard oasis, these tips will help you create a clean, professional-looking setup that’s both functional and safe.
We’ll cover everything from choosing the right materials to planning your cable route, installing protective conduits, and using your garden’s natural features to your advantage. By the end, your outdoor bar will look polished, your cables will be protected from the elements, and you’ll have peace of mind knowing everything is up to code.
Let’s get started!
Why Hiding Cables Matters for Your Outdoor Bar
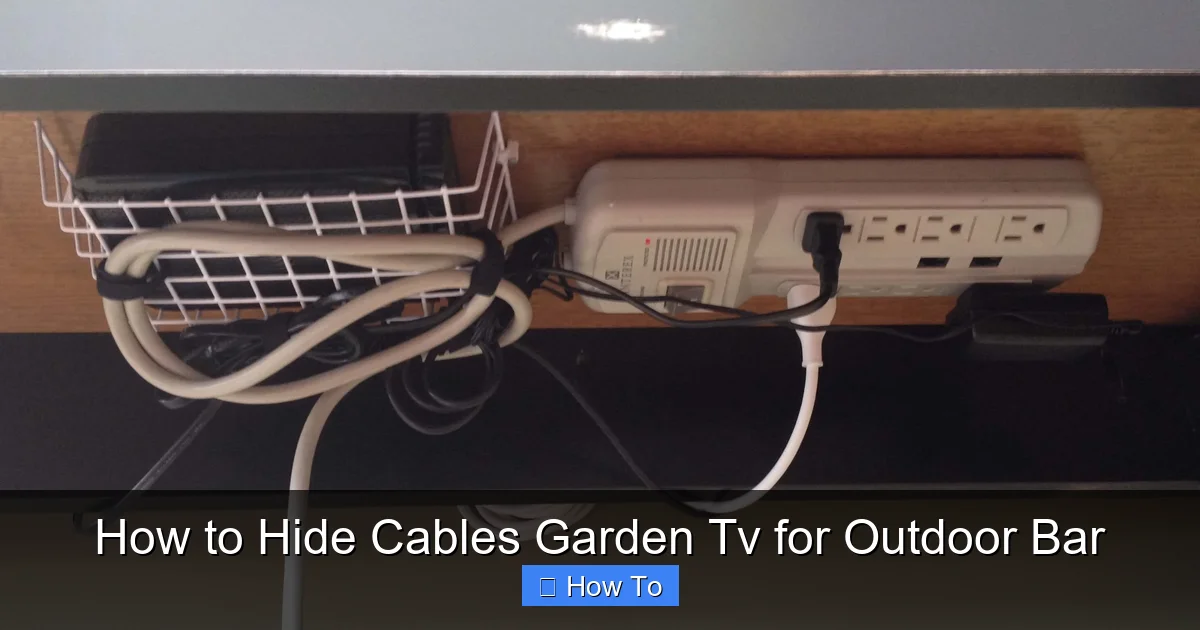
Visual guide about How to Hide Cables Garden Tv for Outdoor Bar
Image source: i.pinimg.com
Before diving into the how-to, let’s talk about why this matters. Hiding cables isn’t just about aesthetics—though a clean look definitely helps. It’s also about safety, durability, and functionality.
Safety First: Exposed cables are tripping hazards, especially in dim lighting or when guests are mingling. Wet conditions make it worse—water and electricity don’t mix. Properly concealed cables reduce the risk of shocks, short circuits, or fires.
Weather Protection: Outdoor cables are exposed to rain, snow, UV rays, and temperature swings. Over time, this can degrade insulation and cause malfunctions. Hiding them in protective channels or underground extends their lifespan.
Clean Aesthetics: Let’s face it—no one wants to see power cords snaking across their beautiful patio. A well-hidden cable setup makes your outdoor bar look intentional and high-end.
Prevents Damage from Foot Traffic: If cables run across walkways or seating areas, they’re prone to wear and tear from people stepping on them. Concealing them keeps them safe and out of the way.
Compliance with Electrical Codes: Many local building codes require outdoor electrical installations to meet specific standards. Proper cable management helps you stay compliant and avoid fines or insurance issues.
In short, hiding your garden TV cables is a smart investment in safety, style, and longevity.
Planning Your Cable Layout
Before you start drilling or digging, take time to plan. A little foresight saves time, money, and frustration later.
Step 1: Map Out Your Setup
Start by sketching a simple diagram of your outdoor bar area. Include:
– The location of your garden TV
– Power source (outlet or GFCI-protected circuit)
– Any additional devices (soundbar, lighting, fridge, etc.)
– High-traffic zones (walkways, seating areas)
This helps you visualize where cables will run and identify the best hiding spots.
Step 2: Measure Cable Lengths
Use a measuring tape to determine how much cable you’ll need between each device and the power source. Add a little extra (10–15%) for slack and routing flexibility.
Pro tip: Use a laser distance measurer for accuracy, especially over long distances.
Step 3: Choose the Best Route
Look for the shortest, safest path from your TV to the power source. Avoid crossing driveways, stairs, or areas with heavy foot traffic. If possible, route cables along walls, under decks, or through garden beds.
Ask yourself:
– Can I run cables along a fence or railing?
– Is there a nearby outdoor outlet, or do I need an extension?
– Are there existing structures (like pergolas or planters) I can use for concealment?
Step 4: Check Local Codes and Permits
Some cable installations—especially underground ones—may require permits or must follow local electrical codes. Check with your city or hire a licensed electrician if you’re unsure.
For example, in many areas, buried cables must be in conduit and buried at a minimum depth (usually 18–24 inches for direct-burial cable).
Choosing the Right Materials
Not all cable management products are created equal—especially for outdoor use. You need materials that can withstand moisture, UV exposure, and temperature changes.
Weatherproof Conduit
Conduit is a protective tube that houses your cables. For outdoor use, choose:
– PVC Conduit: Affordable, lightweight, and resistant to moisture and UV rays. Ideal for above-ground or buried use.
– Metal Conduit (EMT or RMC): More durable and fire-resistant, but heavier and harder to install. Best for high-traffic or commercial areas.
– Flexible Conduit: Great for tight bends or areas with movement (like under a deck).
Look for conduit rated for “direct burial” if you plan to go underground.
Outdoor Cable Raceways
Raceways are surface-mounted channels that hide cables along walls or fences. Choose ones made from UV-stabilized plastic or aluminum. Some even come in colors that blend with your outdoor decor.
Cable Clips and Fasteners
Use stainless steel or plastic clips designed for outdoor use. Avoid cheap metal clips that rust in the rain.
Direct-Burial Cable
If you’re running cables underground, use direct-burial-rated cables (like UF-B or direct-burial Ethernet). These have thicker insulation and are designed to withstand soil moisture and pressure.
GFCI Outlets and Outdoor Extensions
Always use a Ground Fault Circuit Interrupter (GFCI) outlet for outdoor power. It shuts off power instantly if it detects a fault, preventing shocks.
For temporary setups, use outdoor-rated extension cords with built-in GFCI protection.
Method 1: Using Conduit to Hide Cables
Conduit is one of the most reliable ways to protect and conceal cables. It’s great for both above-ground and underground installations.
Step 1: Gather Your Tools
You’ll need:
– PVC or metal conduit (cut to length)
– Conduit fittings (elbows, couplings, junction boxes)
– Hacksaw or PVC cutter
– Drill and screws (for mounting)
– Cable pull string or fish tape
– Weatherproof sealant (like silicone)
Step 2: Install the Conduit
– Measure and cut the conduit to fit your planned route.
– Use elbows and couplings to navigate corners or obstacles.
– Secure the conduit to walls, fences, or posts using outdoor-rated brackets every 3–4 feet.
– If running along the ground, consider burying it slightly or covering it with mulch or pavers.
Step 3: Pull the Cables Through
– Attach your cables to a pull string or fish tape.
– Gently feed the string through the conduit, then pull the cables through.
– Leave a little slack at both ends for connections.
Step 4: Seal the Ends
Use weatherproof sealant around the entry and exit points to prevent water from seeping in.
Pro Tips
– Use a conduit bender for smooth curves instead of sharp elbows.
– Label your cables at both ends to avoid confusion later.
– Install a junction box if you need to splice wires or add outlets.
Method 2: Burying Cables Underground
For a truly hidden look, burying cables is the gold standard. It’s perfect for long runs from your house to the outdoor bar.
Step 1: Check Local Codes
As mentioned earlier, burial depth and conduit requirements vary by location. In most areas:
– Direct-burial cable: 24 inches deep
– Conduit-protected cable: 18 inches deep
Call your local utility locator service (like 811 in the U.S.) before digging to avoid hitting gas or water lines.
Step 2: Dig the Trench
Use a trenching shovel or rent a mini trencher for longer runs. Keep the trench narrow (6–8 inches wide) and level.
Tip: Lay a garden hose along the path first to mark where you’ll dig.
Step 3: Lay the Conduit or Cable
– Place the conduit or direct-burial cable in the trench.
– Use sand or gravel at the bottom for cushioning.
– Add a warning tape 6–12 inches above the cable to alert future diggers.
Step 4: Backfill and Restore
Carefully fill the trench with soil, tamping it down as you go. Replant grass or cover with mulch to blend in.
Pro Tips
– Use a conduit even with direct-burial cable for extra protection and easier future upgrades.
– Install a pull box every 100 feet or at major turns to make future repairs easier.
– Avoid sharp bends—use gradual curves to prevent cable damage.
Method 3: Using Garden Features to Conceal Cables
Sometimes the best hiding spots are already in your yard. Use natural and decorative elements to your advantage.
Planters and Raised Beds
Run cables along the back or side of large planters. You can even drill a small hole through the base to feed wires underneath.
Tip: Use tall plants like ornamental grasses or bamboo to further obscure the view.
Trellises and Pergolas
Attach cables to the underside of a pergola or along trellis posts. Train climbing plants (like ivy or jasmine) to grow over them for natural camouflage.
Fences and Railings
Use outdoor cable clips to secure wires along fence posts or railings. Paint the clips to match the fence color for a seamless look.
Mulch and Ground Cover
For low-voltage cables (like speaker wires), you can bury them just under the surface and cover with mulch or low-growing ground cover like creeping thyme.
Caution: Don’t use this method for high-voltage power cables—always use conduit or proper burial depth.
Method 4: Surface-Mounted Raceways
If you can’t go underground or don’t want to drill into walls, raceways are a quick and clean solution.
Step 1: Choose the Right Raceways
Look for outdoor-rated raceways with snap-on covers. Some models come with adhesive backing, but for long-term use, screw-mounted is more secure.
Step 2: Install Along Walls or Baseboards
– Clean the surface with rubbing alcohol.
– Mark the route and drill pilot holes.
– Screw the raceway base into place.
– Insert the cables and snap on the cover.
Step 3: Paint to Match
Many raceways can be painted to blend with your wall or fence color. Use exterior-grade spray paint for best results.
Pro Tips
– Use corner pieces for clean 90-degree turns.
– Avoid overfilling the raceway—leave 30% empty space for heat dissipation.
– Use a raceway splitter if you need to branch off to multiple devices.
Electrical Safety Tips
No matter which method you choose, safety should always come first.
Use GFCI Protection
All outdoor outlets should be GFCI-protected. If your existing outlet isn’t, install a GFCI outlet or use a GFCI extension cord.
Avoid Overloading Circuits
Don’t plug too many devices into one outlet. Check the wattage of your TV, lights, and other gear, and make sure your circuit can handle the load.
Use Outdoor-Rated Cables
Never use indoor extension cords outside. They’re not designed for moisture or UV exposure and can degrade quickly.
Inspect Regularly
Check cables and connections every few months for signs of wear, cracking, or corrosion. Replace damaged cords immediately.
Hire a Pro for Complex Jobs
If you’re running new circuits, installing outlets, or dealing with high-voltage wiring, consult a licensed electrician. It’s not worth the risk.
Troubleshooting Common Issues
Even with the best planning, problems can pop up. Here’s how to handle them.
Cables Are Too Short
Solution: Use outdoor-rated extension cords or splice in a longer cable (inside a junction box). Never use multiple extensions daisy-chained together.
Water Gets Into Conduit
Solution: Seal all entry points with silicone. Install conduit with a slight downward slope toward the outlet to let water drain out.
Cables Get Tangled or Stuck
Solution: Use a cable lubricant when pulling wires through conduit. Don’t force it—gentle pressure works best.
Raceways Look Too Obvious
Solution: Paint them, use camouflage wraps, or install them behind furniture or decor.
TV Signal Is Weak
Solution: Use a signal booster or switch to a wired Ethernet connection if using streaming devices. Avoid running power and data cables in the same conduit—they can interfere.
Maintaining Your Hidden Cable System
Once your cables are hidden, a little maintenance goes a long way.
– Clean raceways and conduits annually to remove dirt and debris.
– Check for pests (like rodents) that might chew on cables.
– Trim plants regularly so they don’t grow over and damage conduits.
– Test GFCI outlets monthly by pressing the “test” button.
Conclusion
Hiding cables for your garden TV outdoor bar might seem like a small detail, but it makes a big difference in how your space looks and functions. With the right tools, materials, and a bit of planning, you can create a clean, safe, and stylish setup that lasts for years.
Whether you go with conduit, underground burial, garden camouflage, or surface raceways, the key is to choose methods that fit your space and skill level. And remember—safety always comes first. Use outdoor-rated materials, follow electrical codes, and don’t hesitate to call a pro when needed.
Your outdoor bar is meant to be a place of relaxation and fun. Don’t let a tangle of wires ruin the experience. Take the time to hide those cables properly, and you’ll enjoy a seamless, professional-looking entertainment area that’s ready for any occasion.
Now go enjoy that garden TV—cable-free and stress-free!

