
Tired of messy cables ruining your outdoor TV setup? This guide shows you how to hide cables for a deck TV under a pergola using safe, weather-resistant methods. From planning to finishing touches, you’ll get a clean, professional look that lasts.
Key Takeaways
- Plan your cable route first: Map the path from TV to power and devices before drilling or cutting to avoid mistakes.
- Use outdoor-rated cables and conduits: Regular indoor cables can degrade in sun and rain—choose UV-resistant, waterproof options.
- Secure cables with clips and raceways: Use stainless steel or plastic clips designed for outdoor use to keep wires tidy and protected.
- Protect connections with weatherproof boxes: Seal all splices and power sources in IP65-rated enclosures to prevent water damage.
- Label and test everything: Label cables during installation and test the system before finalizing to catch issues early.
- Maintain access for future repairs: Design your setup so you can easily reach cables without dismantling the pergola.
- Prioritize safety and code compliance: Follow local electrical codes and avoid overloading circuits to prevent fire or shock risks.
How to Hide Cables for a Deck TV Under a Pergola: A Complete Guide
Imagine relaxing under your pergola on a warm summer evening, watching your favorite show on a sleek outdoor TV—only to be distracted by a tangled mess of cables snaking across the deck. Not exactly the peaceful retreat you imagined, right? You’re not alone. Many homeowners love the idea of an outdoor entertainment space but struggle with one common problem: how to hide cables for a deck TV under a pergola without compromising safety or style.
The good news? With the right tools, materials, and a bit of planning, you can create a clean, professional-looking setup that’s both functional and weather-resistant. Whether you’re mounting a TV on a pergola post, under the roof beams, or on a nearby wall, this guide will walk you through every step—from planning your cable route to sealing connections and maintaining access for future repairs.
In this comprehensive how-to guide, you’ll learn:
- How to plan the best cable path for your pergola setup
- Which outdoor-rated cables and conduits to use
- Step-by-step methods to hide and secure cables
- How to protect power and signal connections from the elements
- Tips for maintaining your system and troubleshooting common issues
By the end, you’ll have a clutter-free, safe, and stylish outdoor TV experience that enhances your deck and pergola space. Let’s get started!
Step 1: Plan Your Cable Route
Before you grab a drill or start running wires, take time to plan your cable route. A little upfront planning saves time, money, and frustration later. Think of this as the blueprint for your entire setup.
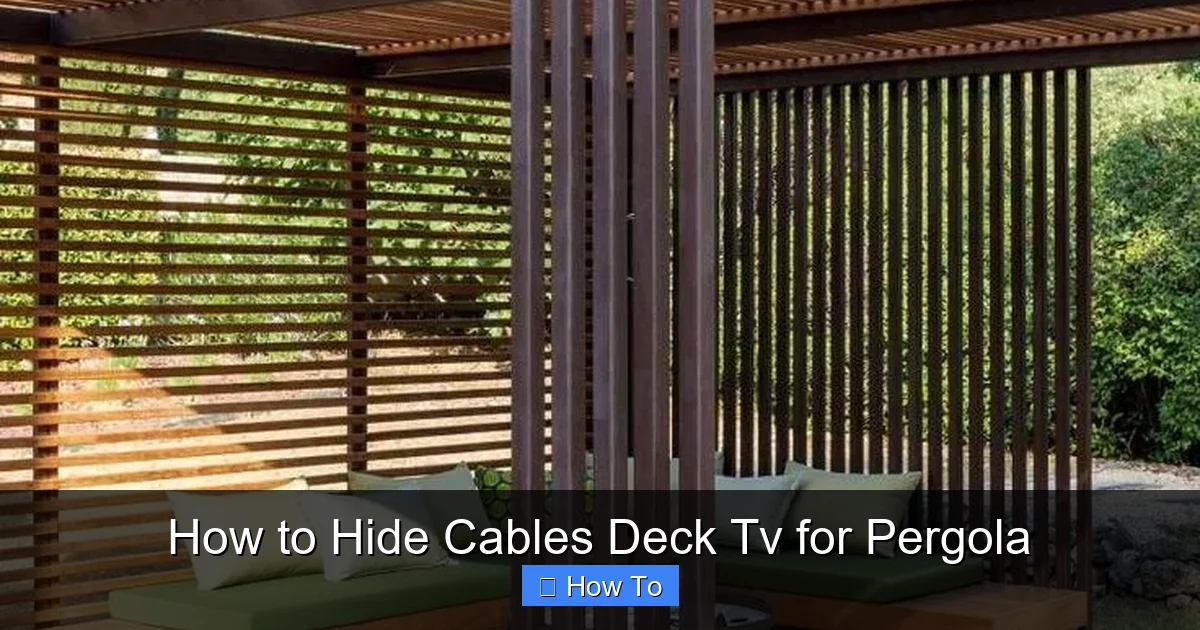
Visual guide about How to Hide Cables Deck Tv for Pergola
Image source: balconydecorators.com
Assess Your Pergola Layout
Walk around your pergola and identify where the TV will be mounted. Common spots include:
- On a vertical post
- Under a horizontal beam
- On an adjacent wall or fence
Next, locate where your power source, streaming devices (like a Roku or Apple TV), and audio equipment (such as a soundbar or outdoor speakers) will be placed. Most setups require at least three types of cables:
- Power cable (from outlet to TV and devices)
- HDMI cable (from streaming device to TV)
- Optional: Ethernet, audio, or speaker wires
Map the Shortest, Safest Path
Trace the shortest route from the TV to the power outlet and devices. Avoid sharp bends, high-traffic areas, and places where cables could be tripped over or damaged. If your pergola has open beams, you may be able to run cables along the underside. For enclosed structures, consider drilling small holes through beams or using surface-mounted raceways.
Check for Obstacles
Look for potential obstacles like:
- Electrical wires or plumbing (if near a kitchen or bathroom)
- Structural supports that can’t be drilled
- Areas exposed to direct sunlight or heavy rain
Also, check local building codes. In some areas, outdoor electrical work requires permits or must be done by a licensed electrician—especially if you’re installing new outlets or running wires through walls.
Create a Cable Management Plan
Sketch a simple diagram showing:
- TV location
- Power source
- Device locations (streaming box, sound system)
- Cable paths (hidden vs. visible)
- Access points for future maintenance
This plan will guide your installation and help you buy the right length of cables and conduits.
Step 2: Choose the Right Cables and Materials
Not all cables are created equal—especially when it comes to outdoor use. Using indoor cables outside can lead to overheating, signal loss, or even electrical hazards. Here’s what to look for.
Use Outdoor-Rated Cables
Always choose cables labeled for outdoor or direct burial use. These are designed to withstand UV rays, moisture, temperature changes, and physical wear. Key types include:
- Outdoor HDMI cables: Look for “CMR” or “CMX” ratings and UV-resistant jackets. Avoid cheap indoor HDMI cables—they can degrade in sunlight.
- Outdoor power cords: Use SJTW or SJTOW rated cords, which are flexible, water-resistant, and safe for outdoor use.
- Ethernet cables: If using wired internet, choose Cat 6 or Cat 6a outdoor-rated cables with waterproof connectors.
Select the Right Conduit or Raceways
To protect and hide cables, use one of these methods:
- Flexible conduit: Ideal for running cables through pergola beams or under decking. Choose UV-resistant PVC or metal conduit.
- Cable raceways: Surface-mounted channels that clip or screw into place. Great for attaching to posts or beams. Look for weatherproof models with snap-on covers.
- Cable sleeves: Braided sleeves that bundle multiple cables together. Best for short runs or decorative touches.
Get the Right Fasteners and Clips
Use stainless steel or plastic cable clips designed for outdoor use. Avoid galvanized steel in humid areas—it can rust. Self-adhesive clips may fail in heat or rain, so opt for screw-mounted ones for long-term durability.
Weatherproof Enclosures
For any connections or power sources, use IP65-rated outdoor electrical boxes. These seal out dust and water, protecting splices, adapters, and power strips. Never leave connections exposed.
Step 3: Install Conduits or Raceways
Now it’s time to install the protective pathways for your cables. This step keeps wires safe, hidden, and organized.
Mount Raceways on Posts or Beams
If your pergola has vertical posts or horizontal beams, surface-mounted raceways are the easiest option.
- Measure the length needed and cut the raceway with a hacksaw or utility knife.
- Mark the mounting points and drill pilot holes.
- Secure the raceway base with stainless steel screws.
- Run cables through the channel, then snap on the cover.
Tip: Choose a raceway color that matches your pergola wood or paint for a seamless look.
Run Conduit Through or Under the Pergola
For a more hidden approach, run flexible conduit through the pergola structure.
- Drill small holes (½ inch or less) through beams where needed.
- Feed the conduit through, leaving slack at both ends.
- Use conduit connectors to secure ends and prevent water entry.
- Pull cables through using a fish tape or string.
Caution: Avoid drilling near electrical wires or structural joints. If unsure, consult a contractor.
Hide Cables Under the Deck (Optional)
If your pergola is attached to a deck, you can run cables under the decking for a completely hidden look.
- Lift a few deck boards near the pergola.
- Run conduit or direct-burial cables beneath.
- Reattach boards, ensuring cables aren’t pinched.
This method requires more effort but offers the cleanest appearance.
Step 4: Secure and Organize Cables
Once your cables are in place, keep them tidy and protected with proper fastening and organization.
Use Cable Clips and Ties
Attach cables to raceways, conduits, or beams using outdoor-rated clips.
- Space clips every 12–18 inches to prevent sagging.
- Use zip ties for bundling, but leave them slightly loose to avoid pinching.
- Trim excess tie ends to prevent snags.
Bend Cables Gently
Avoid sharp bends, especially with HDMI and Ethernet cables. Sharp kinks can damage internal wires and cause signal loss. Use a minimum bend radius of 4 times the cable diameter.
Label Each Cable
Use waterproof labels or colored tape to mark each cable at both ends. For example:
- Red tape = Power
- Blue tape = HDMI
- Green tape = Ethernet
This makes troubleshooting and upgrades much easier.
Step 5: Protect Connections and Power Sources
Exposed connections are the weakest point in any outdoor setup. Protect them from moisture, dust, and pests.
Use Weatherproof Electrical Boxes
Install an IP65-rated outdoor junction box near the TV or power source.
- Mount the box securely to a post or beam.
- Run cables through waterproof grommets or conduit entries.
- Make connections inside the box using wire nuts or terminal blocks.
- Seal the box tightly after closing.
Use a GFCI Outlet
Outdoor outlets must be GFCI (Ground Fault Circuit Interrupter) protected to prevent shocks. If your existing outlet isn’t GFCI, have one installed by an electrician.
Protect Power Strips
If using a power strip, place it inside a weatherproof enclosure. Never leave it on the ground or exposed to rain.
Seal Cable Entry Points
Use silicone sealant or rubber grommets where cables enter the pergola or deck. This prevents water from seeping in.
Step 6: Test and Finalize the Setup
Before you call it done, test everything to ensure safety and performance.
Power On and Check Connections
Turn on the TV and all devices. Verify that:
- The picture and sound work correctly
- All streaming apps load
- Remote controls function
Inspect for Loose Cables or Hazards
Walk the entire cable path and check for:
- Loose clips or raceways
- Exposed wires
- Cables in tripping zones
Make adjustments as needed.
Secure Loose Ends
Tuck any excess cable into the raceway or conduit. Use cable ties to bundle and secure.
Document Your Setup
Take photos of your cable routes and connections. Store the diagram and photos in a safe place for future reference.
Troubleshooting Common Issues
Even with careful planning, problems can arise. Here’s how to fix the most common ones.
No Signal or Poor Picture Quality
- Check HDMI connections—reseat both ends.
- Test the cable with another device.
- Ensure the cable isn’t too long (over 25 feet may need a booster).
Cables Overheating
- Avoid bundling too many cables tightly.
- Ensure conduits aren’t sealed shut—allow airflow.
- Use cables rated for outdoor temperatures.
Water in the Electrical Box
- Check seals and grommets.
- Reapply silicone if needed.
- Ensure the box is mounted with the opening facing down.
Tripping Hazards
- Reroute cables away from walkways.
- Use low-profile raceways or under-deck routing.
- Add warning tape if cables must cross a path.
Maintenance Tips for Long-Term Success
Keep your outdoor TV setup looking great with regular maintenance.
Inspect Every Season
Check cables, clips, and enclosures each spring and fall. Look for:
- Cracks or fading on cables
- Loose raceways or conduits
- Signs of pests or moisture
Clean Gently
Wipe raceways and enclosures with a damp cloth. Avoid harsh chemicals that can degrade plastic or rubber.
Upgrade as Needed
Technology changes fast. If you upgrade your TV or add new devices, revisit your cable plan to ensure compatibility and capacity.
Conclusion
Hiding cables for a deck TV under a pergola doesn’t have to be a headache. With smart planning, the right materials, and careful installation, you can create a clean, safe, and stylish outdoor entertainment space. From choosing outdoor-rated cables to protecting connections with weatherproof boxes, every step matters.
Remember: safety and durability come first. Don’t cut corners on materials or skip permits if required. A little extra effort now prevents costly repairs later.
Now that you know how to hide cables for a deck TV under a pergola, you can enjoy movie nights, sports games, and relaxing evenings outdoors—without the distraction of messy wires. Your pergola isn’t just a structure anymore. It’s your personal outdoor theater.

